Common Settings For An Audio Video Receiver (Guide)
Common Settings For An Audio Video Receiver (Guide)
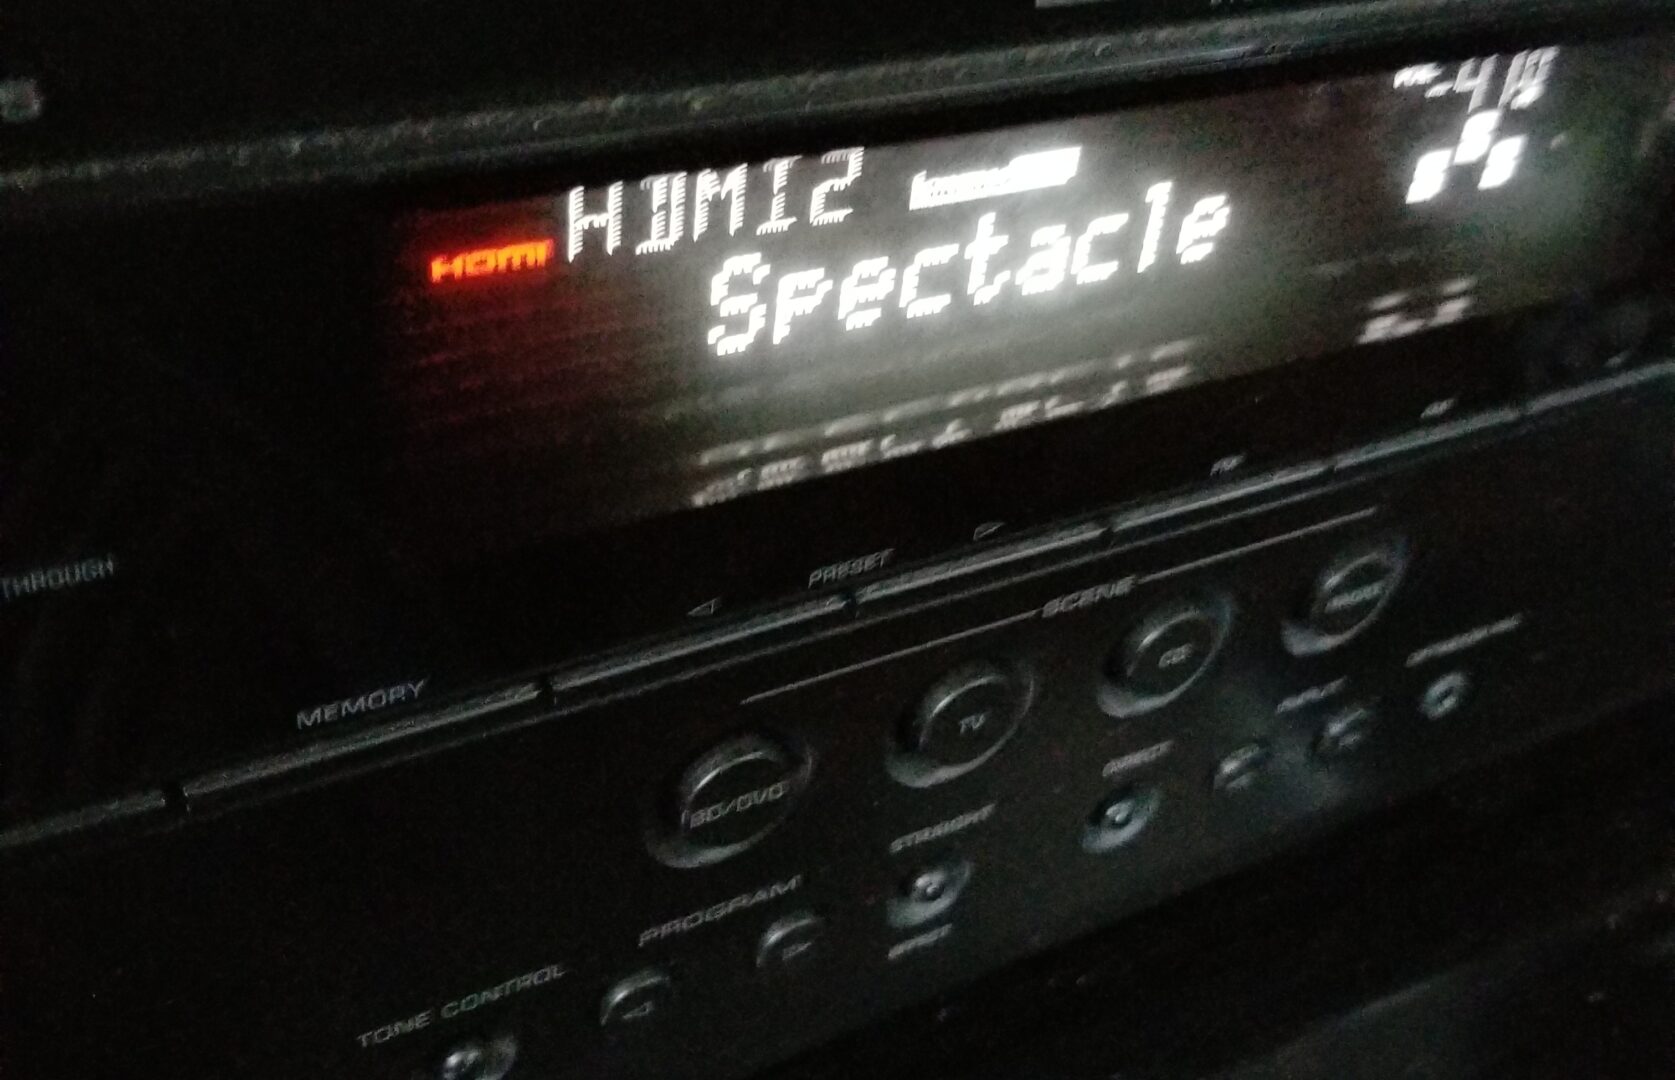
So with all of my tinkering, and through unfortunate trial and error (lots of that one), here’s something you may appreciate, an audio/video receiver guide on common settings!
I feel like the receiver is one of those components in a home theater that doesn’t necessarily get the respect it deserves.
Now I’m not going so far as to say that it’s completely overlooked, but compared to something like a subwoofer, you wouldn’t be blamed for initially thinking it’s not too exciting.
But what If I told you it was?
There’s more to it than meets the eye. What If I told you there might be an entire host of really cool settings in your receiver that you may not even know existed?
See the thing is, sometimes the manuals that come with these devices can be less user friendly which ends up doing the exact opposite of the thing they were trying to do in the first place; which is help you!
So this won’t be a completely exhaustive list since there’s a lot of different receivers with different configurations & settings — it’ll be more of a general overview of some common settings that are often included.
These won’t be in any particular order by the way, but anyway, without further ado, let’s jump right into it.
1). DSP Modes
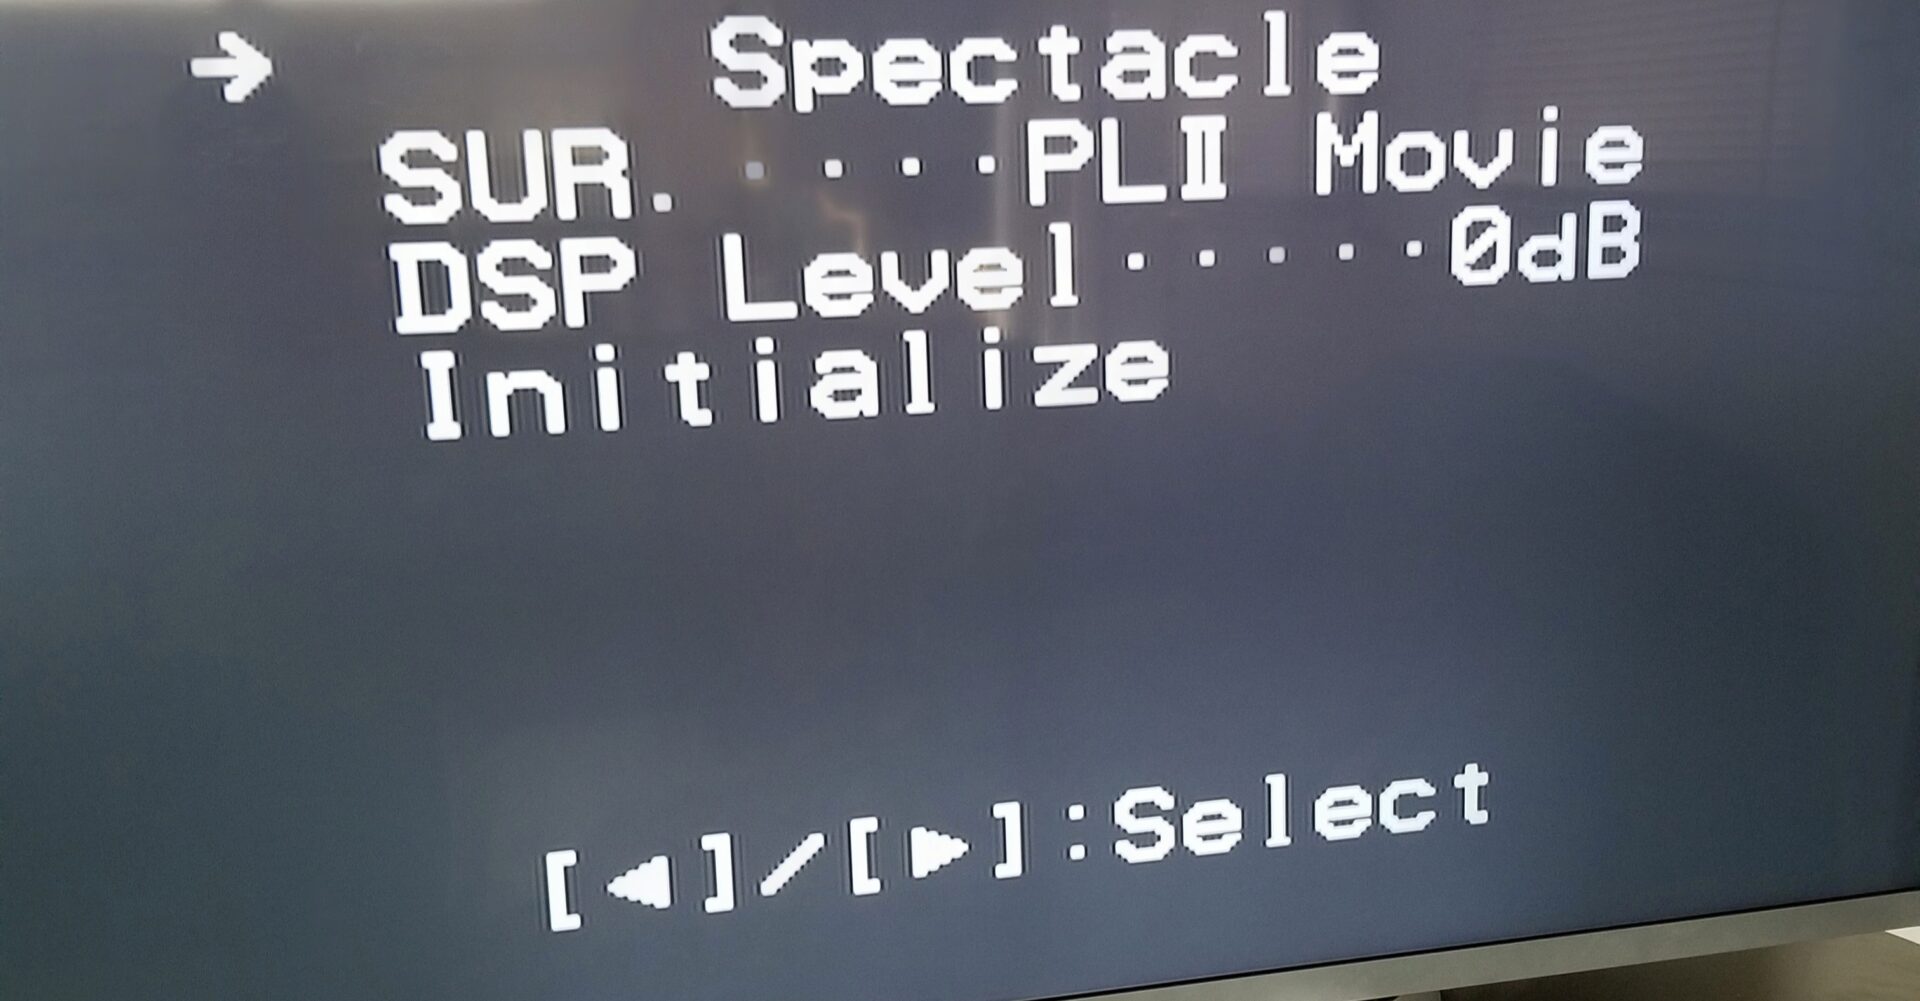
See here’s an interesting that some may not be aware of when they get a shiny new receiver; the fact that they can use their remote to alter the sound output with different presets.
Nearly every receiver out there comes equipped with their own version of what called a DSP mode. DSP stands for Digital Signal Processing.
Basically the way it works is it takes the sound from the source coming in to the receiver, and then manipulates it using algorithms, that depending on whatever mode it’s on.
Of course, that’s a vastly oversimplified explanation of what it is, but if you want to know more about the in depth dynamics of it, you can read about it here.
DSPs are awesome though because they can take sound from a speaker that just sounds okay, to something that sounds amazing. However here’s the thing you should know, every receiver has a different set of these modes. Not all of them have the same names or effects.
That means it’d be impossible for me to tell you exact ones the ones to try since every receiver is going to have a different type. They can even be different from within the same manufacturer. But I can tell you the mode I’ve always leaned towards on all my receivers; cinema or movie mode.
Movie presets tend to just sound better from the other ones, at least from my experience. No idea why, but that’s what I’ve found. Ultimately, you’ll have to play around with them yourself and make that call because there’s a ton of unique ones on each receiver.
That and everyone perceives sound differently. They can range from sci-fi to drama; the list goes on. But trust me, they’re certainly a lot of fun to mess around with. A DSP mode can also fix a problem that I had covered in the other article about why a speaker may sound hollow, even when it’s supposedly a quality one.
https://easyhometheater.net/home-theater-problems#hollow
A DSP Mode can certainly help in this instance because it gives you a relative amount of control on how your sound…well sounds!. If it’s lacking in treble, or the mid range sounds recessed, you now have the ability to somewhat remedy that.
The interesting thing I’ve found over the years though is that every speaker reacts differently to them. What I mean by that is that some modes may have a different degree of effect on one speaker compared to another.
What sounds good on one of them, may sound completely different on another.
2). Adaptive DRC

This is a really cool one too. Within your receiver is something called Adaptive DRC.
DRC stands for dynamic range control, and acts as a way of limiting the dynamism. So why would this setting be worth mentioning? Well let’s say it’s nighttime and you want to watch a show but you don’t want to necessarily turn up the volume.
What this does is make the highs and lows the same level so there aren’t giant spikes in volume that might scare the crap out of you. This is really helpful when you want to watch things at a moderate level, but you don’t need movie theater levels of intensity.
3). Individual Speaker Level
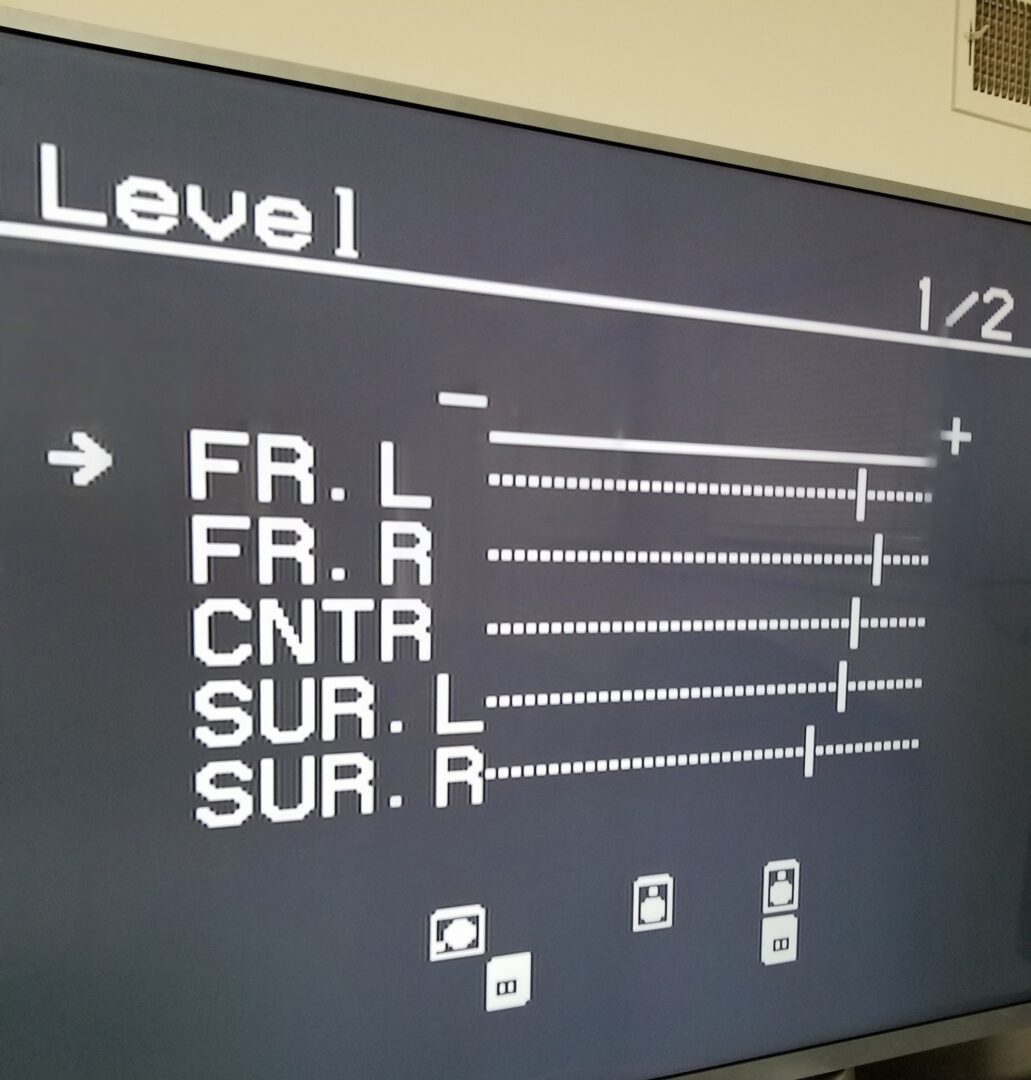
This is one of those settings that lets you customize things even more. With the speaker level setting, you can adjust the individual volume level for each speaker to your liking.
Even though most modern receivers come with some sort of calibration mic to do things automatically, you can still tweak even more if you wanted to so it’s a nice touch.
4). Input Rename
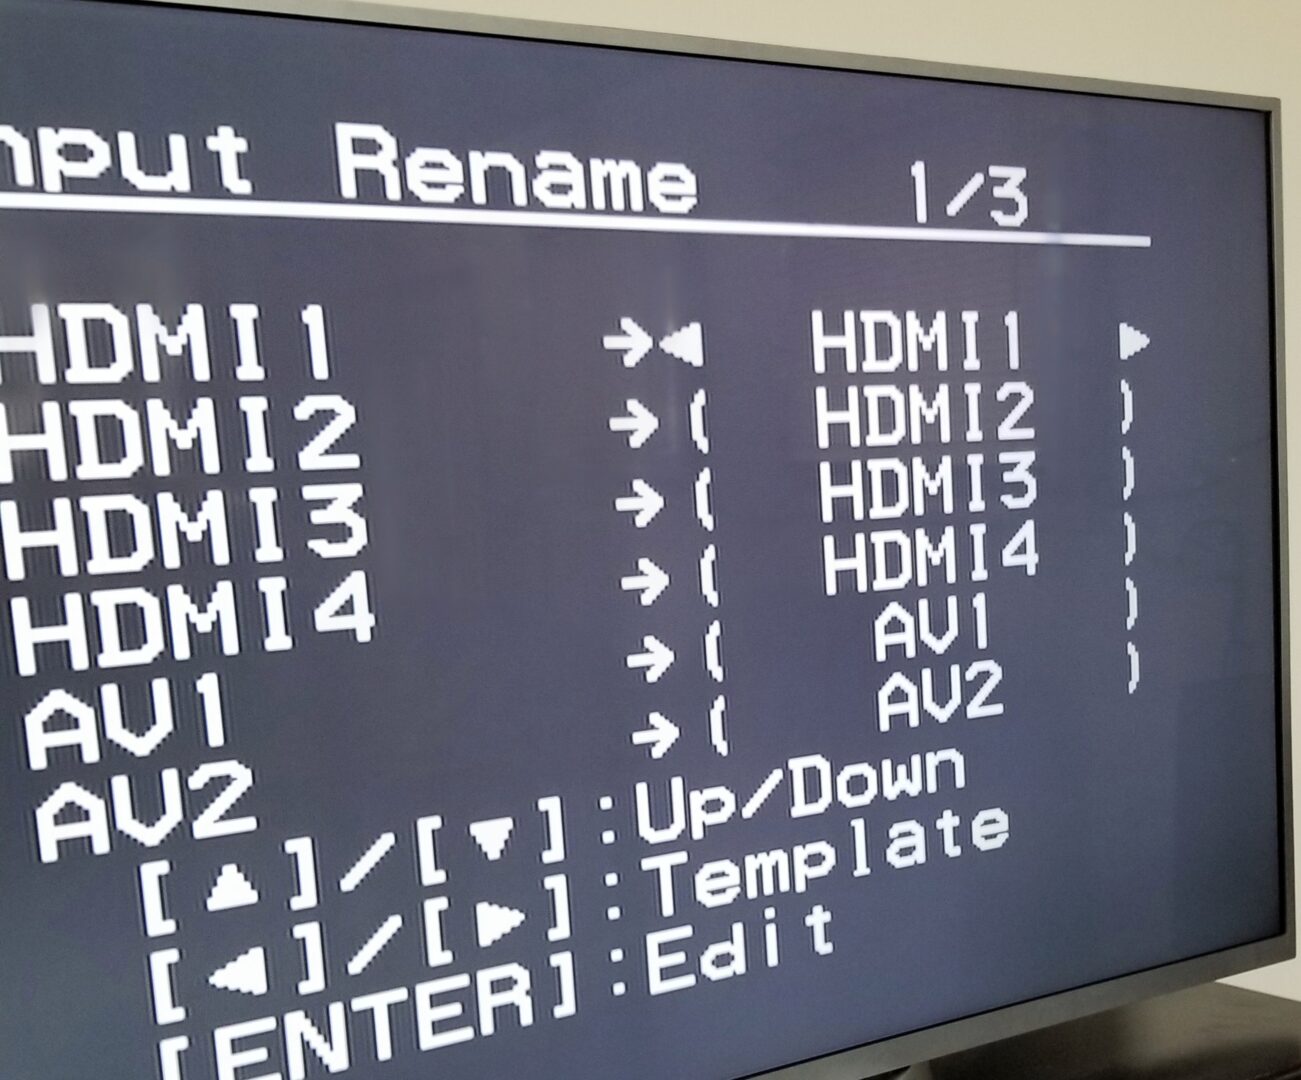
Just like the name suggests, the input rename allows you rename each input to whatever device it happens to be under. So instead of being called HDMI 2, you could change it to Blu-ray or something like that.
This is useful because when you start getting up there with the number of things you connect, you’re going to want an easy way to remember all of it. This allows you to do just that.
5). Stereo Mode
This is the mode that you should use when you have just 2 speakers and want to listen to music. Of course you may add a subwoofer, but this mode limits sound to only 2 channels. This means it technically could allow your speakers to go higher than normal in volume since there’s less speakers drawing power. Stereo has a focus on audio acuity, so this is what you should use if you’re only using 2.
*Bonus Setting* Straight or Pure Mode
This mode is particularly interesting because it turns off any DSP settings, equalizations, etc. Think of it as an even purer stereo mode. This means that all you are getting is sound from your 2 speakers; this even excludes the subwoofer from being used.
Now why would someone want to use one like that? Well if you are an audio purist and you have a really high quality file of music that you want to play, this would be that mode to use.
You wouldn’t want any external equalizations affecting the sound in any way, so it allows you to get the purest output possible.
Bonus Setting 2 – Auto Calibration Via Mic
So one thing that’s really important in my opinion and that I think helps audio quality a lot is auto calibration via microphone that a lot of modern receivers come with.
For example if your center speaker seems too loud, or your surround speakers seem low in volume, this automatic calibration can often help to improve this.
Like with Denon receivers, they use some form of Audyssey calibration, with Onkyo they use AccuEQ, Yamaha uses YPAO, and so on.
Though the names of the calibration often varies depending on the brand, the general premise is similar; connect the microphone to the receiver, get it into the position & height level it recommends, then start the calibration.
But this process can often make a big difference, and help things sound more cohesive.
A Quick Note
I thought it was also worth mentioning that the physical placement of your receiver itself is also important.
Keep it in a place that’s room temperature and open with sufficient air flow so it can properly function.
Final Thoughts
There’s probably more settings out there given just how many types of AV receivers that exist, but hopefully with this guide, you have a better idea of what settings work for your home theater.
Let me know of any other cool ones you’ve found in the comments below as it may help someone else with a similar one.
But that’s all for now.
Until next time, make it easy, keep it simple!
About Me

Jay
Hey everyone it’s nice to meet you. I'm Jay, writer & founder of the site Easy Home Theater. I've been with this hobby of home entertainment for many years now. I decided to create this site to be a helpful resource, and share everything that I've learned from personal experience with you. I also happen to be a huge gamer, lover of all things tech related, and a major fitness buff (love weightlifting)
Contact: Contact Jay
Facebook: https://www.facebook.com/Easyhometheater/
X: https://x.com/easyhometheater
Pinterest: https://www.pinterest.com/easyhometheater/pins/
Instagram: https://www.instagram.com/easyhometheater/
Followit: https://follow.it/easy-home-theater
Bluesky: https://bsky.app/profile/easyhometheater.bsky.social
12 Comments so far:
-
-
No problem lol. Glad I was able to make it clear
-
-
hi-wonderful site. You have provided useful information, great stuff
-
As long as it’s useful, that’s really the goal. Receivers have so many cool little settings. I’m still finding new ones XD
-
-
I found this post very informative I will certainly give these settings a try!
Paul
-
Sweet! Let me know how it goes.
-
-
I found some really helpful tips for my system. I never knew what these settings are for and needless to say, I didn’t want to fiddle with them for fear I may mess up the console. I am going to try out the Adaptive DRC for that has always been my concern at night when I play videos on my TV. It could very well be the solution instead of lowering and raising the volume manually. Just a quick question, do all AV receivers have these functions?
-
No problem!
All receivers have the basic functions like an EQ and DSP setting. Most usually also have a form of adaptive DRC as well. But where they differ is that they often have different presets and features. The more higher end ones support things like multiple subwoofers and automatic calibration which is insanely helpful. So to answer that, unfortunately it depends.
-
-
I can’t count the times I’ve owned a receiver and it basically just sat there, and never got touched. Now I Know what some of those things mean. I never would have guessed so much more can be done with my receiver than just sit. .lol
-
Haha right? I’m like Adaptive DRC….what? But it’s really cool when you start to delve deeper and understand it that you really appreciate everything.
-
-
Well this has certainly made me aware of all the benefits a receiver has, thanks. Really awesome to know how to get better quality sound out of my theater system. I always thought that it was the quality of the speakers which isn’t the case, well in most cases.
Thanks for this info, I guess i will be spending lots of time tweaking my receiver from now on.
Awesome site by the way.
Cheers-
That’s awesome, yeah I mean there’s probably a few things in there even I don’t know about haha, let me know what you find. Oh yeah and thanks btw 🙂
-



Thanks for this information. I always get confused with settings for everything so thank you for making it so clear. I think I’m just a bit scared of getting it wrong and then messing it up but hopefully I will get better. Thanks again. Gail