19 Ways To Make Old Speakers Sound Better
19 Ways To Make Old Speakers Sound Better
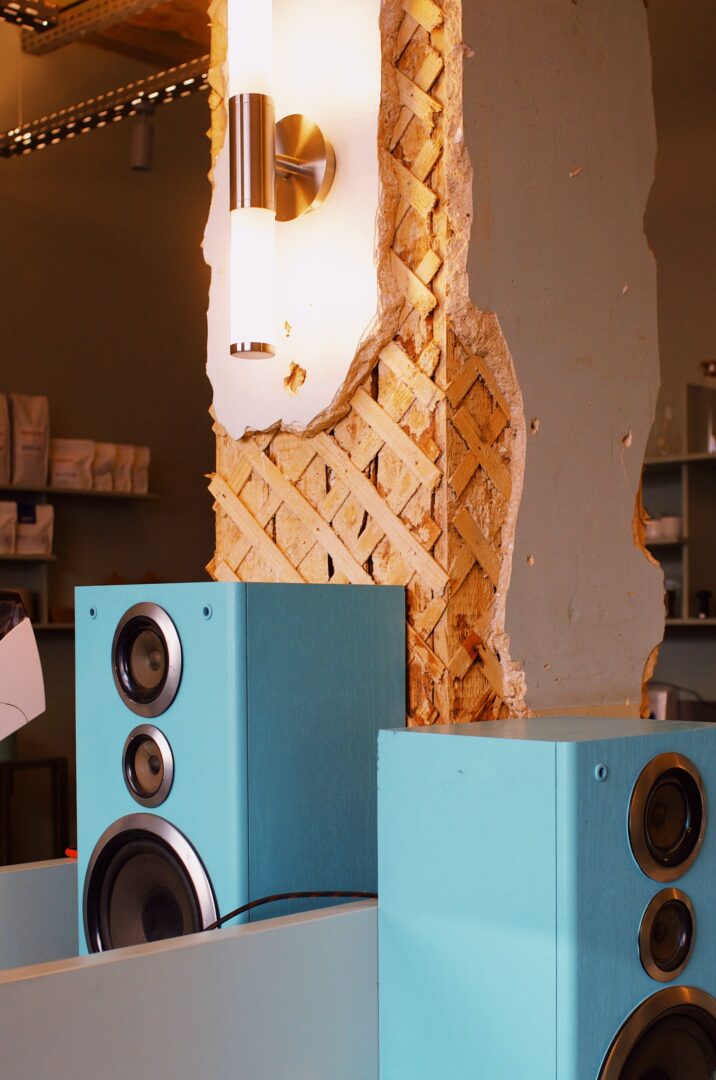
Here’s 19 ways to make your older speakers sound better — whether they’re vintage stereo speakers, retro music speakers, or just older home theater speakers.
The problem is that over time audio equipment can degrade and fail with age.
Worse still with speakers especially, there’s mistakes we unknowingly make that speeds this up.
For example too much dust can negatively affect both the sound & longevity of your speaker.
Wiping with a microfiber cloth can help avoid that while not scratching or damaging the speaker’s finish like a rougher type of cloth could.
While speakers typically last for decades, their audio quality may not.
No worries though because in this guide we’re going to show you how to make your older speakers sound better so you can enjoy them for many years to come.
Let’s take a look!
1). Optimizing Placement & Position Of Your Speakers In The Room
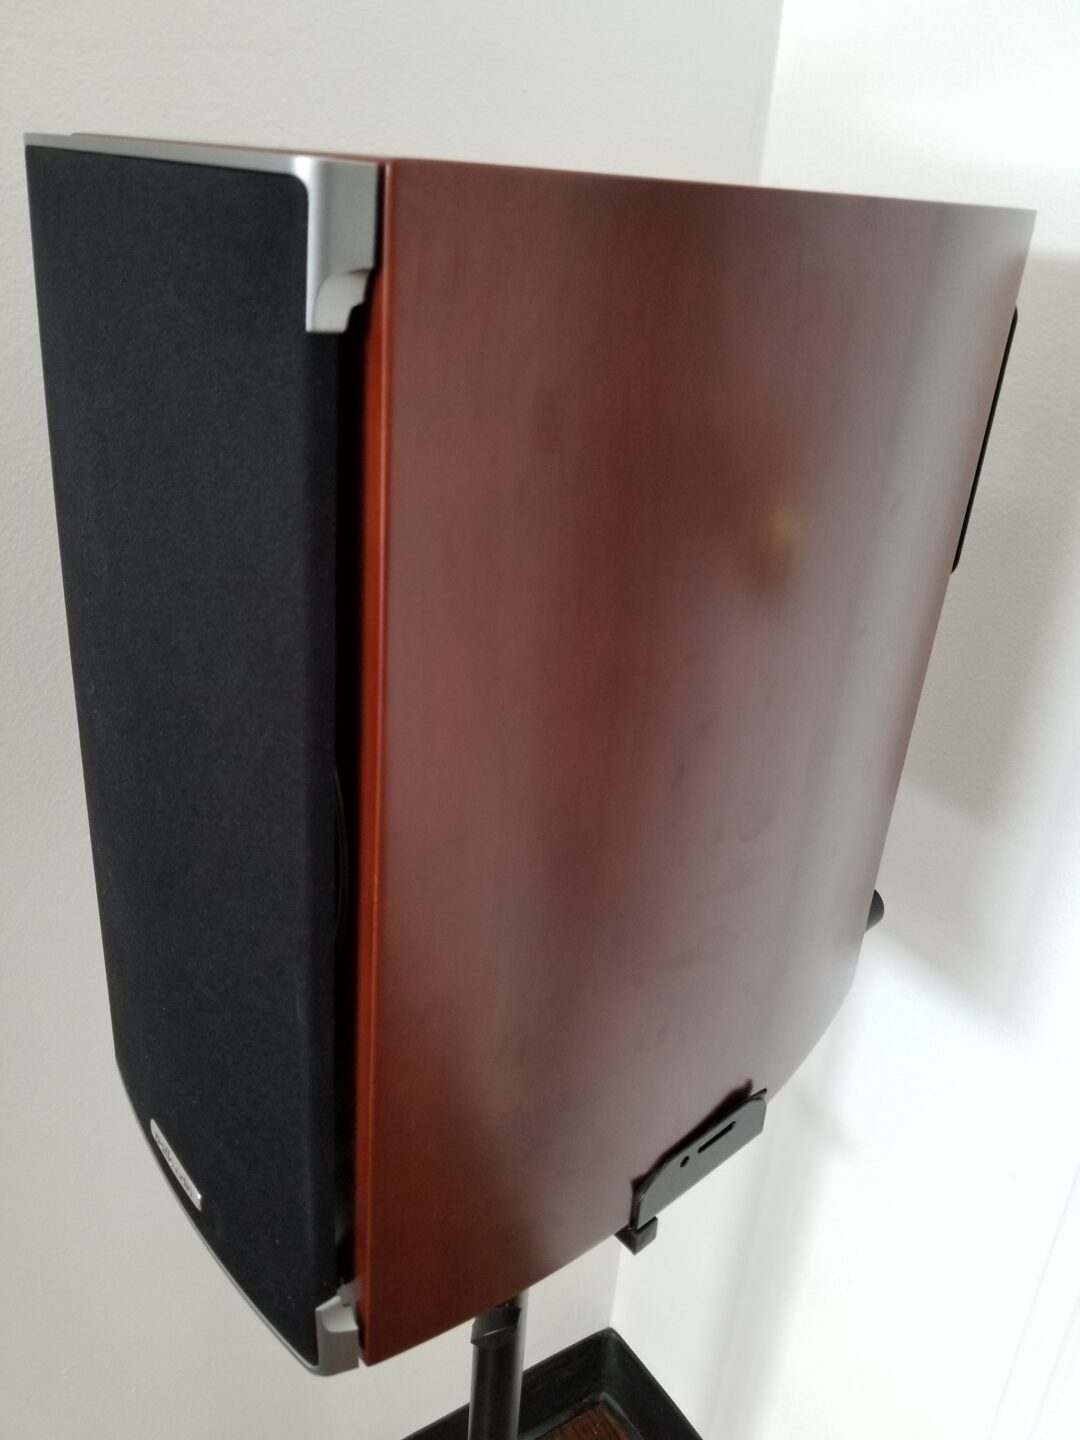
Proper room placement for your speakers can have one of the biggest impacts regarding their audio quality.
As a general rule since every setup is different, placing your speakers the same distance away from each other as you are seated can help with their output.
For example if you’re in your entertainment room seated 6 feet away from the speakers, spacing them 6 feet apart from each other can help with more uniform output in the room.
This kind of placement is what’s known as the golden triangle, as it helps being in the sweet spot for better sound quality & spatial imaging while reducing delay or overlap in incoming sound waves.
So whatever distance you’re sat from your speakers, try placing them that same distance apart to see how it sounds to your ears.
Luckily I created a placement calculator to help with getting an idea of both the optimal place to sit from the TV, and where to place your front speakers.
https://easyhometheater.net/seating-speaker-calculator
Also worth noting is you might be able to improve your sound quality further by decoupling the speaker from the surface it’s on.
One way is through speaker stands — since by isolating it in this way, it can prevent the speaker from buzzing or distorting when at those higher volumes (as long as they’re optimally placed)
These are stands I think work well in my opinion.
Check VideoSecu Speaker Stands Availability
Speaking more on placement though, optimal placement also depends on not just the room itself, but the speaker’s design too.
That means whether they’re ported, sealed, or vented can affect the optimal distance to place the speaker from the wall.
For rear ported speakers, placing them about 18 inches from the wall in my experience tends to help reduce unwanted resonances and room nodes that may color the sound.
I’ll caveat that by saying that is, unless you’re specifically looking to influence the bass of your speakers particularly, in which case you may prefer moving it closer to the wall.
Front ported and sealed versions can often still sound good slightly closer to the wall though it depends on your preferences.
Also using speakers that are timbre matched, meaning using multiple of the same ones within the same line, can be helpful to your audio experience as well.
Another helpful tip is to turn your speakers slightly inwards towards the middle of the room.
Keeping in mind that speakers are directional devices, regardless of the sound waves that radiate outward, their cleanest audio will often come from the waves aimed directly at you.
So by using what’s known as toe in, meaning angling the speaker inwards or outwards, you can get better auditory imaging for a more immersive experience.
It’s definitely worth a try, just keep in mind you don’t need to over do it — just enough to where the grille clothe is pointed towards your seating without actually seeing the sides of the speaker cabinet.
That’s a general idea of how they should be angled but you can play around with this further — that’s just a good rule of thumb to start with.
For better sound, also make sure your front speakers are at ear level when seated.
If they’re too high or too low, it can sometimes sound disjointed — unless they’re surround speakers, which I’ve found can sound great when slightly above ear level.
2). Upgrade Your Speaker Wires/Cables
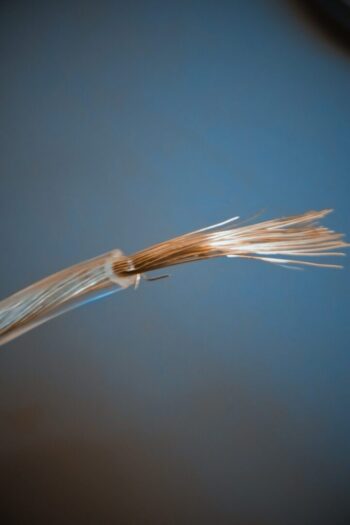
There’s also the hypothesis that upgrading your older wires may have a direct influence on the sound you experience.
Now admittedly I’m undecided on this as on one hand I’m of the opinion that a cable is a cable and shouldn’t make that much of a difference.
While on the other hand having personally played around with a bunch of different wires and noticing a slight difference (admittedly much more premium ones) it’s not definitive.
Long story short, it’s something you’d have to try for yourself, but it may make a difference.
Try to opt for copper wires rather than those made of aluminum as they’ll be immune to things like oxidation which do have an effect.
Using wires that are too thin may also affect audio levels, as the signal may not be as strong.
3). Don’t Put Your Cables On The Ground
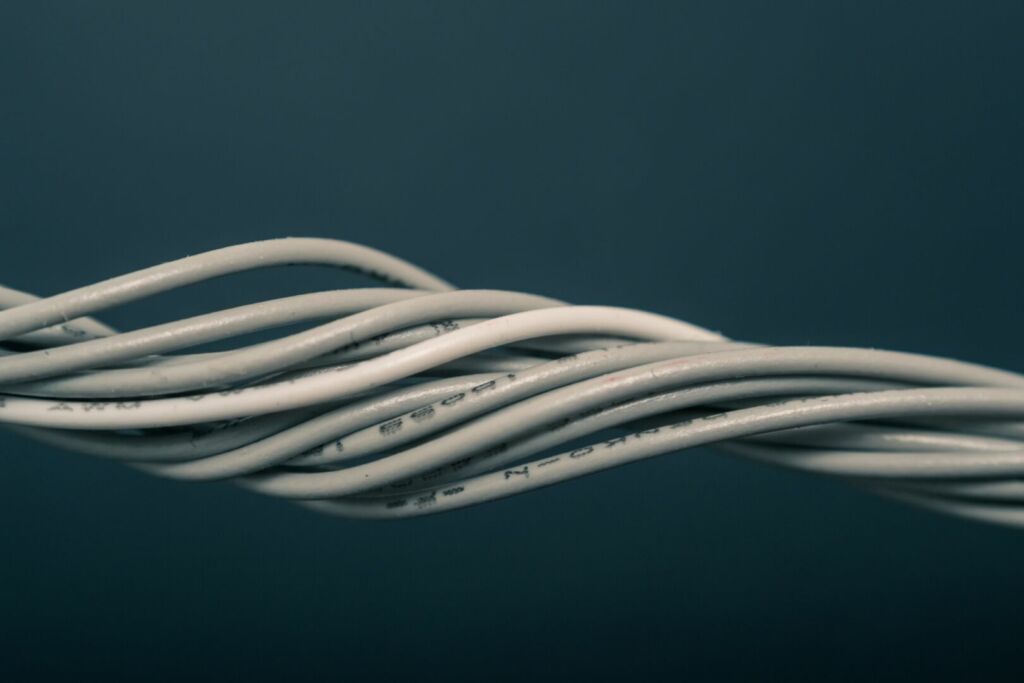
One thing that is definitive however is that messy speaker wires can make for an unsightly looking home theater.
But did you also know it could be having an effect on your sound too?
To put it simply sound creates vibrations and by them being on the ground, those vibrations inevitably travel through the wires.
This could then in turn negatively impact the sound you hear.
Now there’s multiple ways to ditch the wires, be it making your speakers Bluetooth or even hiding them, but just be aware that unruly wiring (obviously making sure they aren’t tangled too) could be having an indirect effect on how everything sounds to your ears.
4). Bi-Amping The Speakers And/Or Bi-Wiring Them
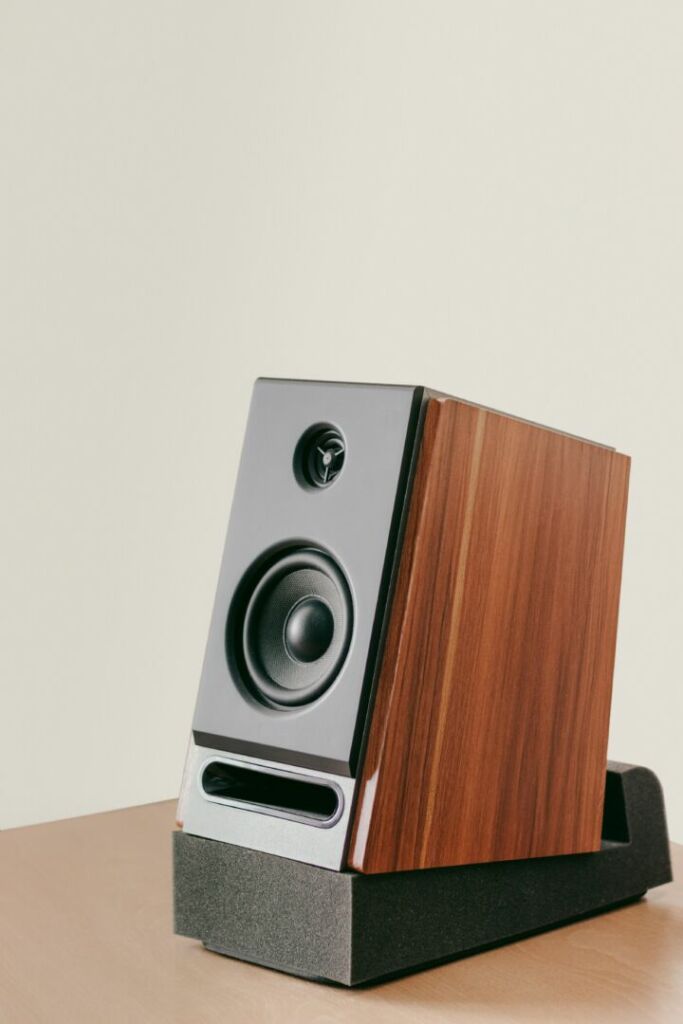
One potential improvement you can implement if your speakers and setup supports it is Bi-Amping them.
Bi-Amping gives the high frequency and low frequency their own amplification channels which can have multiple potential benefits.
When there’s more demanding scenes that require a lot of power, using separate amplifiers would mean each one would only be responsible for the power to that speaker.
This could put less overall strain on the system if you use separate amplifiers in combination with a receiver since each amp would only be responsible for that speaker or set of speakers.
Plus there’s also the benefit that you won’t be as limited by power since each amplifier would be separate — potentially giving them a cleaner sound.
You can tell if your speaker supports this by looking on the back and seeing how many binding posts it has.
If there’s 4 then it supports it.
You would also need a receiver that supports outputting to separate amps, and you can tell this by looking for one that supports pre outs.
In the case of Bi-Wiring, it separates the treble and the bass components of a speaker into separate entities.
By using 2 sets of wires for each that is then connected to the same amplifier, the idea here is that in theory it should provide better sound quality.
There’s lots of contention on whether this is actually true but personally I’ve noticed a difference so it’s possible you might too.
If it has 2 sets of binding posts, then it supports bi-wiring/amping.
5). Replace Your Connectors
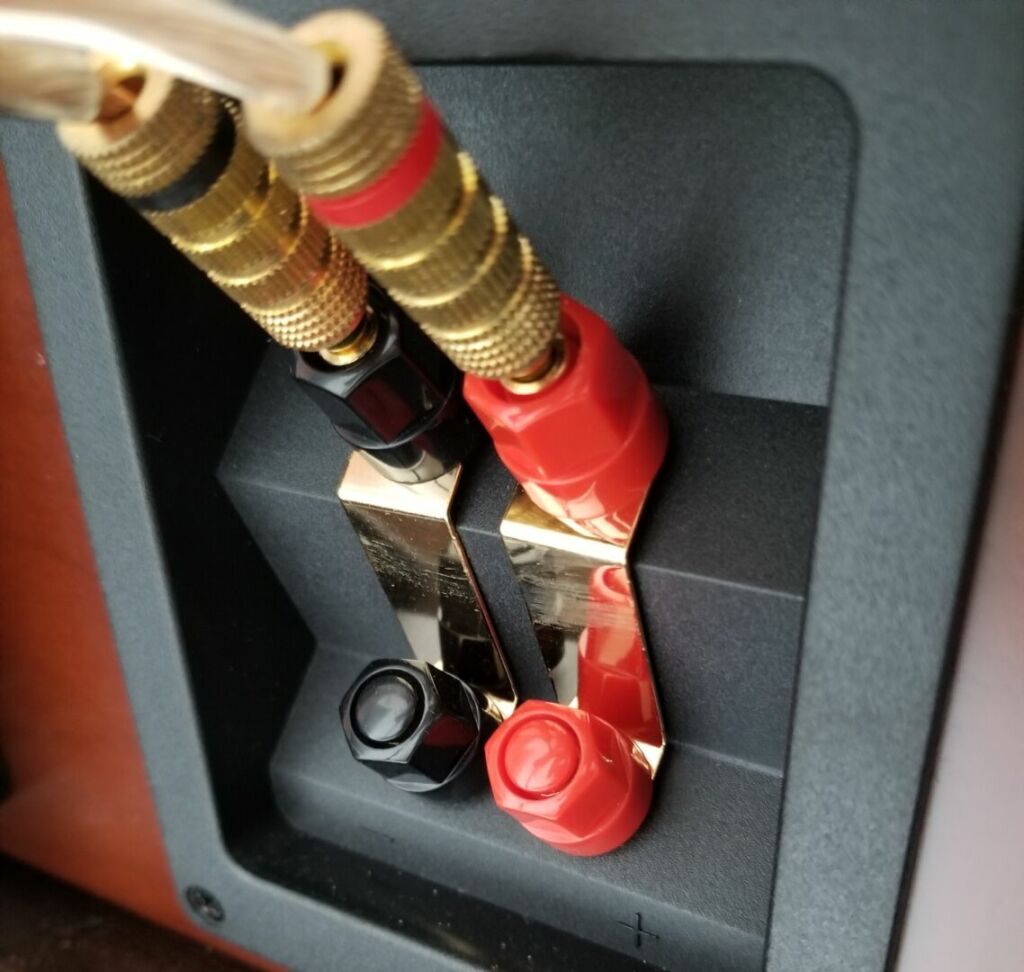
Over time, the sound you experience can be affected by oxidation that affects your plugs.
By replacing them, it just might breathe new life into those old speakers.
Just make sure your speakers are actually wired correctly — meaning the positive connections are wired to the positive terminals and the negatives are connected to the negative.
If they aren’t their polarity could be reversed causing them to play out of phase with each other.
Also another interesting tidbit, you can reduce wire hum you might experience from the old connectors to your speaker wires by gently rubbing the pins on the plug with wire-wool.
6). Replace The Clothe/Foam Around The Driver
Over time, the foam in a speaker can actually go bad (usually in conditions with lots of moisture and heat and things like that), causing it to become brittle or fall apart while drivers with a clothe surround can become abraded.
Replacing this material can allow your speakers to perform like they use to.
7). Calibrate Your Speakers Using A Digital Room Equalization Software
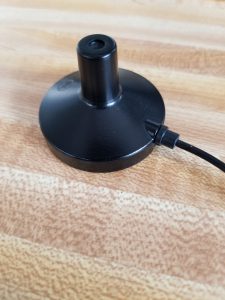
Most modern receivers have some form of room EQ calibration that optimizes your speakers’ sound for your particular room by utilizing a small mic.
Calibrating your speakers this way should provide for a better experience all around and may even help with the bass from your speakers that you experience as well.
8). Upgrade Your Receiver
However not all receivers have this calibration software, and so if you find that you have one that doesn’t, it might be time to upgrade your receiver.
Another reason to upgrade your AVR is it might be underpowered for the speakers you’re using it with.
But yet another, almost speculatory reason is that some believe that disregarding DSP modes, the receiver actually has a direct influence on the sound quality itself though whether it’s noticeable depends on a number of factors.
9). A Cut Tennis Ball Placed Under Equipment To Help With Extraneous Vibrations

Here’s a little bit of an unusual method to help with the sound quality of older speakers and equipment; using tennis balls!
So the way to do this would be by first cutting them in half. The amount of these that you’ll need will depend on the amount of speakers/tables, etc. that you’re using.
But when cut in half, place each half under the feet of your entertainment equipment, tables, etc.
The reason for this is because of the fact they’re made of rubber, it’s effective at eliminating extraneous vibrations making it one way to fix the sound quality in a room without having to do things like acoustically treating a room (though that does actually help too)
Just make sure they’re stable before doing this, and for heavier equipment, having more than one person can help.
For larger floorstanding speakers capable of outputting lots of bass, decoupling them from the floor like a subwoofer could help with resonances.
10). Room Treatment Including Using Acoustic Panels
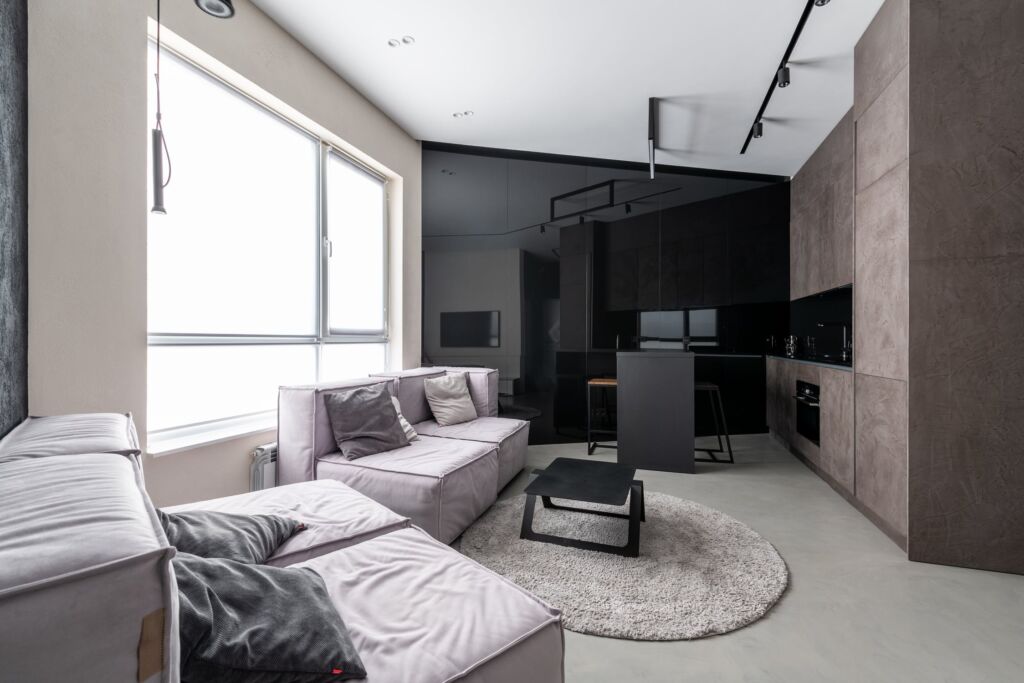
Room treatment, is another route you can have a massive effect on your home theater experience and can directly affect your speaker’s performance.
To put it simply, the more reflective surfaces in a room, the more your sound is going to be all over the place, figuratively and literally.
Doing what’s known as a clap test can be a helpful way to figure this out.
Clap once and note any echoes.
Now try to add as much soft and plush material to the room as possible, do that same test and you’ll notice the difference.
Without being too long winded, basically the more soft materials in the room, the more it’ll absorb unwanted echoes which should improve your sound.
Sound proof curtains, acoustic panels, and even carpets help in that regard, but the idea is that you want to minimize the amount of reflective surfaces in the room.
Using a specialized AV rack with your speakers is also a great way to improve audio since they’re specifically designed to reduce sound coloration.
There’s a bunch more things you can do to improve room treatment specifically so here’s some tips on that.
https://easyhometheater.net/home-theater-ideas
11). The Bracing Of The Speaker/Subwoofer’s Cabinet
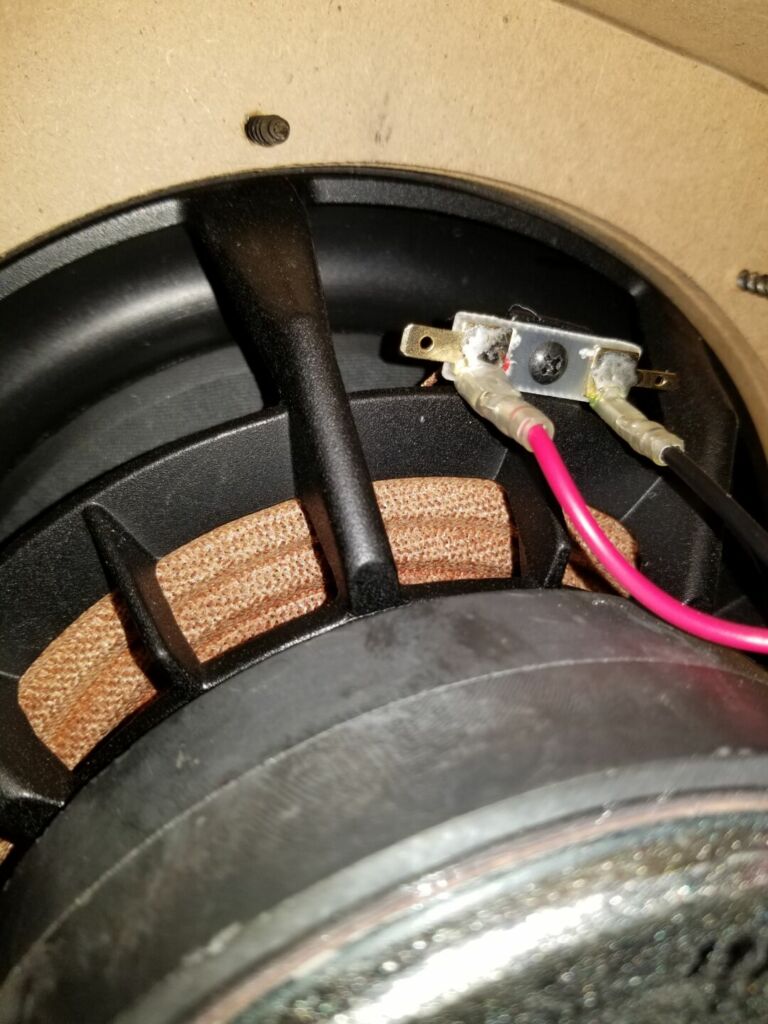
On the more advanced side of things, should your older speakers begin to leave more to be desired, you can always add internal bracing to them to improve their audio quality.
Internal bracing basically involves adding additional pieces of wood inside the cabinet to improve sound quality.
It’s typically more geared towards something like a floorstander since it’s a bigger cabinet.
Even subwoofers are often internally braced to reduce resonance, and the larger the cabinet volume, the more this becomes necessary for a better bass and audio quality in general in my opinion.
12). Replace The Damping Materials Inside
Something else to keep in mind, especially if your speakers are on the older side, is the material inside may need to be replaced.
There’s a few things to consider in that regard, whatever the speaker happens to be on the inside of the speaker and the material in the area where the woofer is.
The wall behind the driver of the speaker is important to treat acoustically since any reflections from the driver will likely be present there as well.
To remedy this, a few handfuls of thick wool placed loosely behind the driver can help improve audio quality to some degree.
The amount of stuffing you use matters too since if you under-damp the speaker (meaning not using enough soft materials inside the cabinet) the sound can seem somewhat muddy.
Conversely, if you use too much, it can cause the speaker to sound less dynamic.
Speakers on the older side might include less optimal materials for the lining of its cabinet which may not give as much clarity (though it depends)
Replacing this lining with a different material too can sometimes make a big difference.
It’ll depend with regards to your particular speaker in terms of sound of course, but those are a few things to keep in mind.
13). Change The Driver Unit
Another way to breathe new life into your speakers is to replace the drivers.
This is obviously a more extreme measure, but opting for a similar driver ensures your speakers will be able to perform like new.
Sometimes manufacturers offer the same exact driver separately, but if not, try to match the new driver as closely as possible with the old one.
14). Make Sure To Remove The Dust
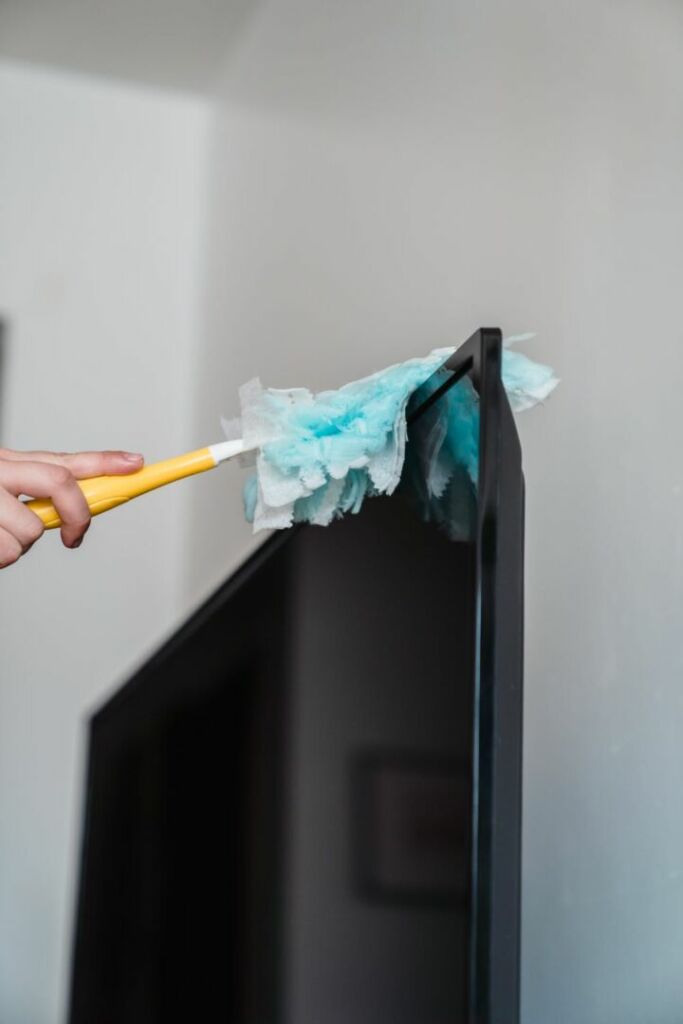
Be sure to dust your older electronics & speakers from time to time as it not only has an effect on the look of your speaker, but its performance as well.
Dust can get in the wires and basically affect your sound.
A microfiber clothe should suffice, but if they’re really vintage, then you can use a gentle wood cleaner to help restore them.
Here’s one that I personally use.
Daily Wood Cleaner
15). Warm Up The Speakers/Equipment First
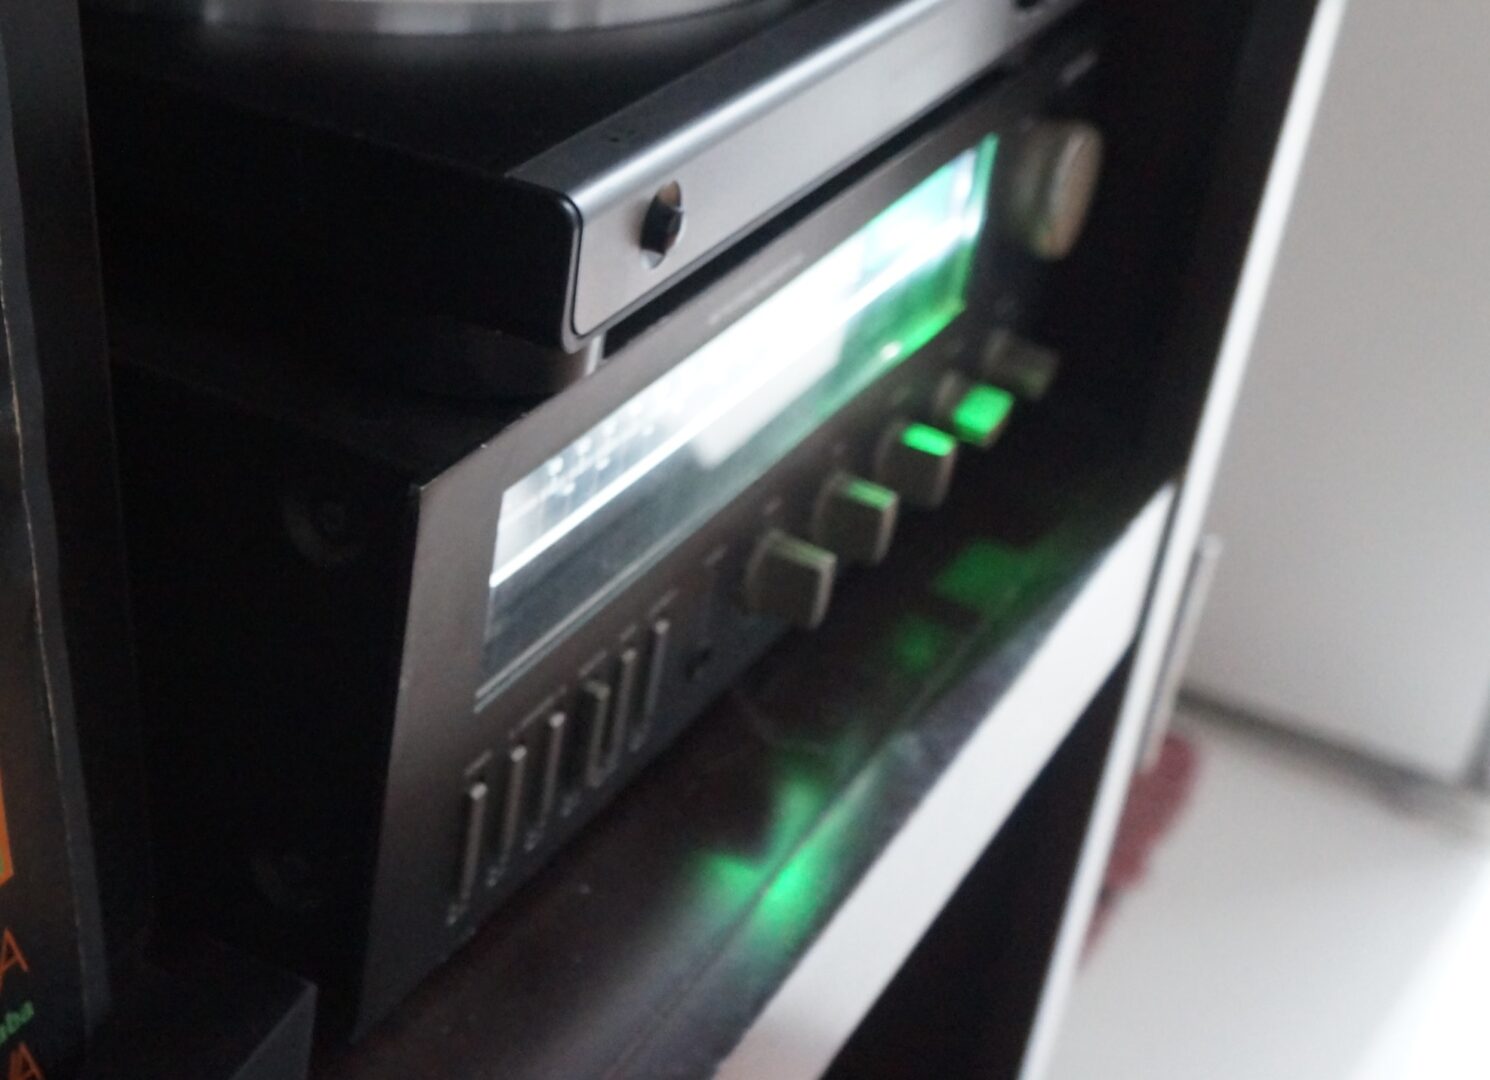
Another tip you can use is warming up your speakers and equipment for 30 minutes before you use them.
This helps for optimal performance, and gives the components adequate time to warm up.
There’s also what’s known as running in, and although it’s mostly applicable to newer speakers, should you replace the drivers, it’d be applicable here too.
Running in is basically the idea that over a period of a few days or more, the materials loosen up and allows your speakers deliver a better sound than right out of the box (this is also known as burn in)
Now whether this actually true or simply your ears becoming adjusted is up for debate, but it’s worth mentioning.
16). Use Pure Direct Mode/ Higher Quality Source Material
On most receivers is a mode known as pure direct mode, and this basically sheds any extraneous processing or subwoofer bass so that all your left with is the speakers’ pure capability.
This can be a way to guage what they’re capable of, and you may even prefer it.
Adding to that point, using source content with a higher quality bitrate is an easy way to make things sound better almost instantly.
This is because lower bitrate sources have issues accurately representing higher and lower frequencies since it trades those off for the size of the file itself being smaller.
However if there’s lossless encoding, that information is retained giving a better audio quality.
Examples of these often included on Blu ray discs include Dolby TrueHD and DTS-HD Master Audio.
17). Use A Hi-Fi DAC Or External Amp
Should the processing in your receiver be insufficient, using an external amp & or Hi-Fi DAC can be a great way to add some additional power to your older speakers.
The one you use will depend on your particular setup since some are Bluetooth while others are optical, but implementing one into your hifi sound system can be a great way to step things up.
18). Listen To Your Music With The TV Off
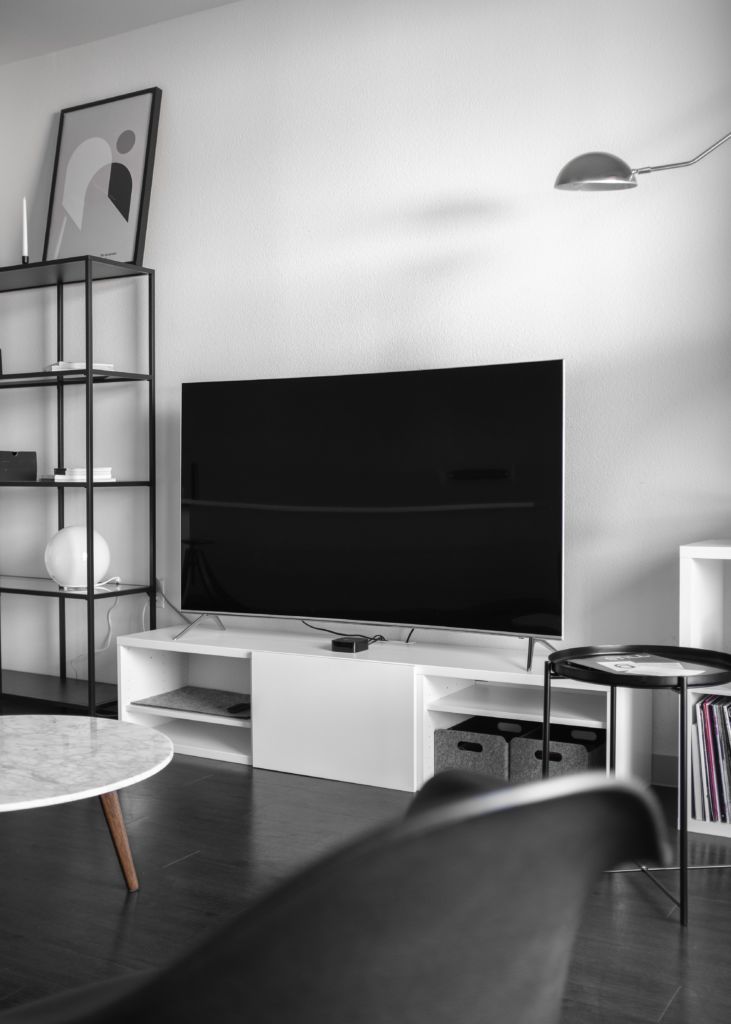
Now this one might sound a little out there, but something that may help with audio quality when listening to music for example, is turning off your display.
Displays can sometimes introduce some degree noise in the signal, and this can in turn effect what you hear depending on how sensitive your hearing is.
So by turning it off, what you might notice is a slightly better quality sound.
It’s an interesting thought for sure, and is certainly at least worth the try.
19). Forgoing Lights Entirely
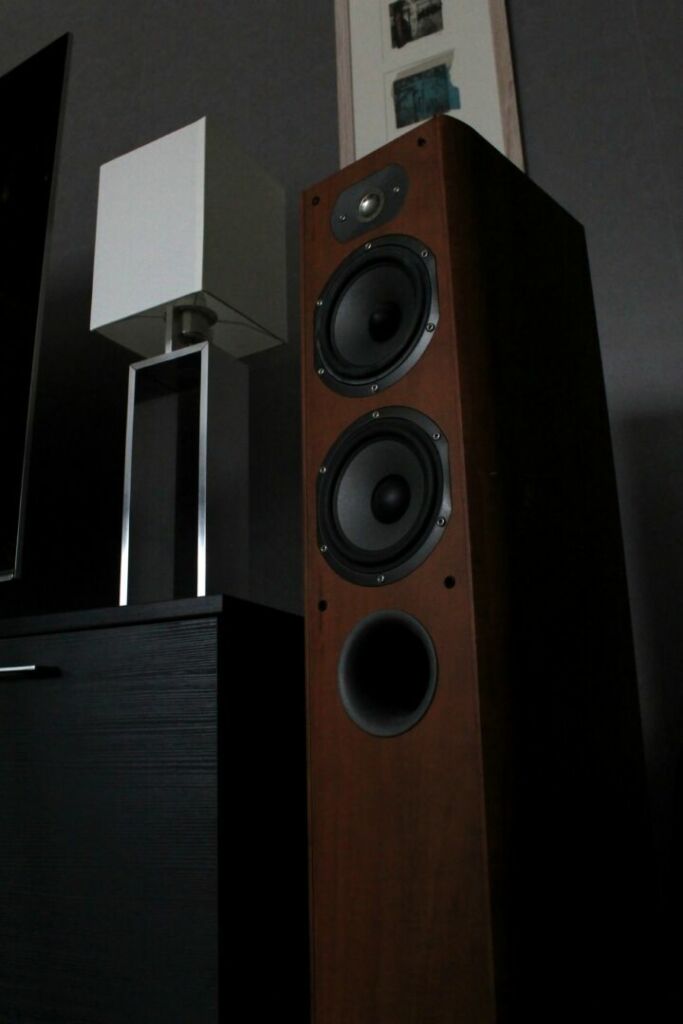
Building on the previous point, listening to your content in the dark can actually make a potential difference in the sound quality you might hear.
As random as it might sound, when there’s a lack of visual stimuli, you tend to be more attentive to the finer details in the content (though it depends on the person to what degree of difference they notice)
Even former chief scientist of Dolby Laboratories, Dr. Poppy Crum in an interview from 2008 talked about how our brain compensates for the sounds we hear which may be different than how they actually which is pretty interesting in my opinion.
https://venturebeat.com/2013/04/08/dolby-poppy-crum-sensory-superpowers
With that in mind, some companies like Pitchblack Playback even do music listening sessions without any light so the focus is on the audio which might make things sound better.
It’s also a reason why movie theaters dim the lights when it’s time for the actual movie to start (pretty interesting to think about)
Bonus: The Option Of Getting A New Speaker
If all else fails and you just simply can’t be asked, there’s always the option of getting a new speaker all together.
Sometimes, things can prove too difficult to repair and it’s better to go with something new.
It’s ultimately your call but if that’s the case, then here’s 2 articles to help with that.
https://easyhometheater.net/the-best-bookshelf-speakers
https://easyhometheater.net/the-best-floor-standing-speakers
Plus for more ways to enhance the experience, here’s 25+ home theater gift ideas.
https://easyhometheater.net/25-awesome-home-theater-gift-ideas
Final Thoughts
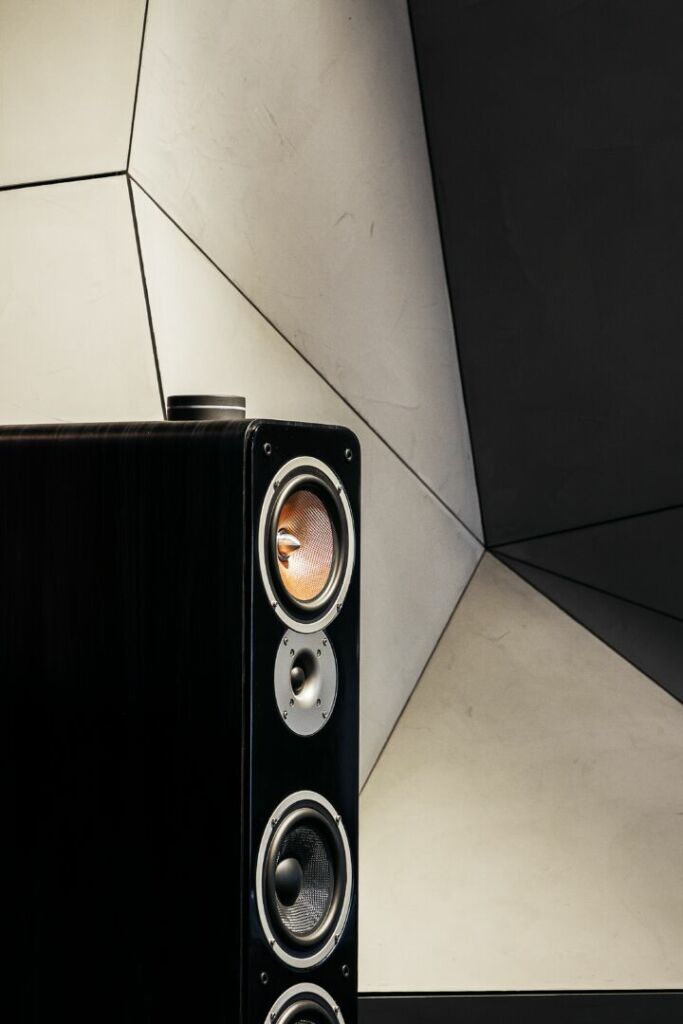
As you can tell from all of this, there’s many different ways to make your old speakers sound better than they currently do.
So if you have an older pair of vintage speakers that you thought you’d never be able to use again, using these tips are great way to get them up and kicking again.
You can also make them last longer by properly taking care of them.
Playing them too loud obviously has an effect on their longevity, but something as simple as dust can be just as damaging over time.
But with all of that said, that about wraps things up for now.
Until next time, make it easy, keep it simple!
About Me

Jay
Hey everyone it’s nice to meet you. I'm Jay, writer & founder of the site Easy Home Theater. I've been with this hobby of home entertainment for many years now. I decided to create this site to be a helpful resource, and share everything that I've learned from personal experience with you. I also happen to be a huge gamer, lover of all things tech related, and a major fitness buff (love weightlifting)
Contact: Contact Jay
Facebook: https://www.facebook.com/Easyhometheater/
X: https://x.com/easyhometheater
Pinterest: https://www.pinterest.com/easyhometheater/pins/
Instagram: https://www.instagram.com/easyhometheater/
Followit: https://follow.it/easy-home-theater
Bluesky: https://bsky.app/profile/easyhometheater.bsky.social
6 Comments so far:
-
-
Appreciate the helpful input!
-
-
Decent article overall. But I take exception to one point. Replacing speaker wires on the ground with a Bluetooth solution with it’s inherent compression is just nuts.
-
I understand that perspective, but its perceptibility isn’t necessarily a given since it depends on the codec, the speakers, how the content is mastered & what that content is, the kit used, the listener’s ear for detail, etc.
-
-
Great publication.
-
I genuinely appreciate that so much, glad you found it helpful!
-



Upgrading drivers can be problematic: crossovers are designed, partially, based on the Thiele/Small parameters of selected drivers., Listening and voicing are an important part of speaker design. If one can replace a driver the same parms as original, one should be fine. Otherwise, maybe not. Another good upgrade is to replace capacitors and resistors with better parts, especially in front of midrange and tweeters. The sonic difference between a $10 3.9 mF cap and a $75, (and up), supercap can be quite amazing. Path and Duelund resisters, also in series with MRs and tweeters will also improve sound. The super caps out there do take a while to burn-in. Replacing xover parts might be a bit difficult.
Some Duelund caps, depending on value, can cost over $1k, and they are huge. My 2 bits. I’ve built a lot of speakers and I’ve found better parts DO make a difference. Discussions about speaker design almost always refer to a crossover as the heart of the speaker.