Hiding Home Theater Equipment
Hiding Home Theater Equipment
As great as home theater is, the one thing that can be somewhat of a caveat is the equipment itself.
Typically the better the sound, the more devices and speakers required which can be somewhat of an eyesore to others in the household that might not care for it as much.
So today we’re going to be going over some tips in regards to hiding home theater equipment, so that you can still enjoy a quality experience without the look of things being all over the place.
Let’s get to it!
Placing Your Receiver/AV Equipment On A Wire Rack
When it comes to hiding your av electronics, there’s different ways to actually go about it that range from the simple to the more involved.
Rather than keeping an AV receiver in plain site for example, one way to solve this issue is placing it on a wire rack within a closet so that it’s out of the way.
Similar to the function of a PC server rack, a wire rack for your home theater stuff can be a helpful way to streamline the look of your entertainment room.
Of course if placing it in another room, keep in mind those components in that room would still need proper ventilation to keep them cool.
You may also want to hide the wires to help make things look cleaner, (which can be done in a multitude of ways)
The benefit to placing your equipment on a wire rack though is it’ll allow you to still get to your equipment if need be while also having better airflow in general.
Getting a rack with lockable wheels is preferable I feel, since you can easily move it around when you need to access something.
Here’s a good example of that the works well
Metal Frame AV Cart with Keyboard Tray
While hidden, you still need a way to actually control your components too which is where a separate IR blaster can be useful in that instance.
They typically plug into the HDMI slot of your television and can send the signal back to your devices even in another room
Then there’s also the option of using a wireless HDMI kit that’ll also allow you to control your equipment while it’s out of sight.
In any case, the important thing is you have options when it comes to tidying up your media room, while still having things be functional overall.
Making Sure There’s Some Kind Of Ventilation For Heat
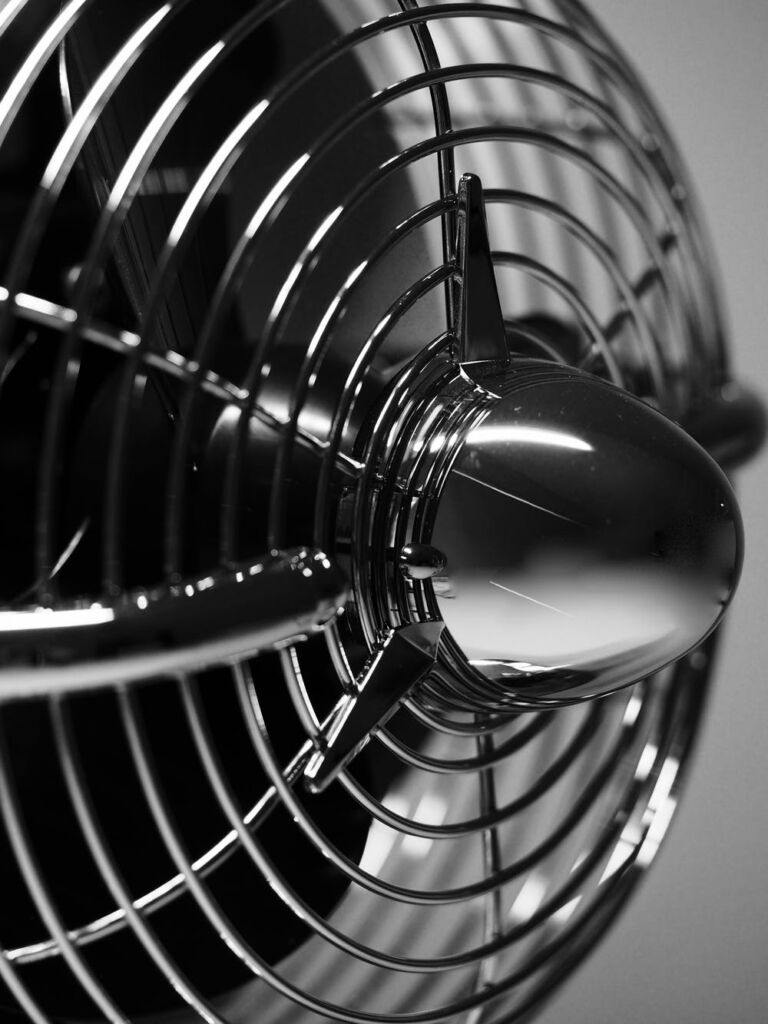
But a huge thing to remember when doing this is that placing some of your different devices on a single AV rack atop one another in a single room is going to generate a lot of heat, since each one will generate heat.
This can cause the room to get hot (especially if it’s small)
The issue with this is that too much heat can be bad for your electronics, as it could shorten the life of your equipment, cause them to enter protection mode, or even fail entirely.
The good news though is that there’s a number of ways to keep your devices cool.
One simple way of course is just making sure the room has access to some sort of ventilation to expel all of that heat.
This can be in the form of fans (be it a rack mount fan or intake fan) or just leaving the door open.
Another way is air conditioning the room.
However you decide to do it, as long as the room stays cool and barring any defects, your equipment should be good for years to come.
How To Pass-through The Wiring
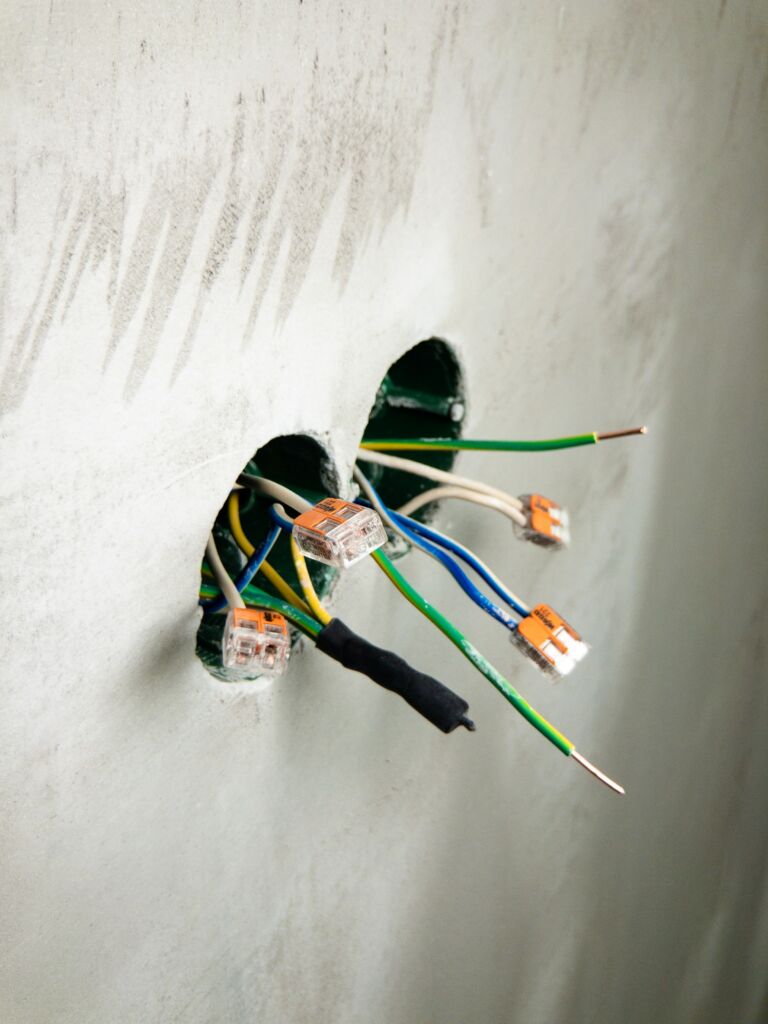
If possible, the TV should be placed on the opposite side of the wall of wherever your AV equipment is placed.
This allows for the wiring process to be much simpler while also covering the small hole where the wires need to be fed through.
In layman’s terms, what you’ll want to do is cut a small hole in the wall about an inch in diameter, then run the wires through to the TV & your soundbar/speakers.
So things like the HDMI cable, speaker wire, and optical cables would be what goes through the hole.
For a refresher on wiring and set up with regards to general speaker setup, this should help.
https://easyhometheater.net/how-to-set-up-a-home-theater
If you’re worried about the cosmetic side about doing that though, what you can also do is use furniture hole-cover grommets to cover the hole so that things don’t look messy.
If you’re running your wires somewhere that’s further away, you still have the ability to run your wires through to the same place.
Do keep in mind that over longer lengths (say 50 feet and longer) latency can become more noticeable.
With speaker wire especially, what can also happen is a reduction in sound quality & volume — hence why thicker wire is generally recommended at longer lengths.
Every 5 feet over 35 feet, go down another gauge in thickness.
So for example, for a 40 foot speaker wire run, I’d recommend a 14 guage thickness. At 50 feet, go with 10 gauge, and so on.
Something else you definitely want to keep in mind isn’t just planning your install for the stuff you have right now, but what you think you might have in 5-10 years.
That way when you do decide to upgrade, it’ll be much less work for you when the time actually comes.
Tips On Hiding Your Wires
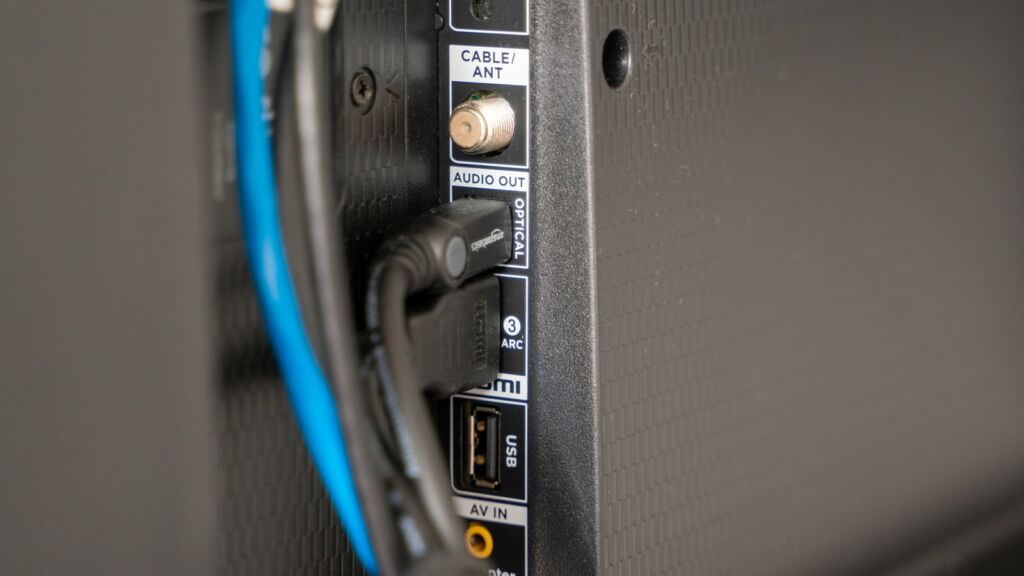
When it comes to hiding your speaker wires, how you decide to do this is of course going to depend on how you actually set up your equipment and whether it’s placed inside the wall, attic, etc.
Now I did a comprehensive piece on hiding speaker wires when it comes to speakers that also applies to home theater equipment in general that should definitely prove helpful which you can check out here.
https://easyhometheater.net/hiding-speaker-wire-solutions
But just to add a little to that, the neatest and most inconspicuous way of making things look tidy is wiring through the wall.
That way it’s out of the way, and still retains the original look of the room.
However I’ll caveat that by saying you’d have to have experience with doing that sort of thing before doing that, and if you don’t, having a professional install it for you may be a possibility.
A few retailers offer the option of setting up the wiring and stuff for you when buying your equipment, so that could be an avenue available.
One of the other ways mentioned in the guide linked above like cable raceways still work great if not.
It’s not just the walls though; you could also run the wiring through the attic or even beneath the floor so there’s definitely flexibility here and by no means one best way to do things necessarily.
Installing Your Speakers Within The Wall
Besides a traditional speaker setup, you also have the option of using special in wall speakers for further melding with the room.
But keep in mind that if you do use these, you will need to run the wiring through the walls.
But the added benefit of going with in wall speakers is that they’re a lot more low key and don’t draw attention to themselves nearly as much as a bookshelf/ floor standing variants do — while still providing a much appreciated improvement in sound quality.
Using Ceiling Speakers
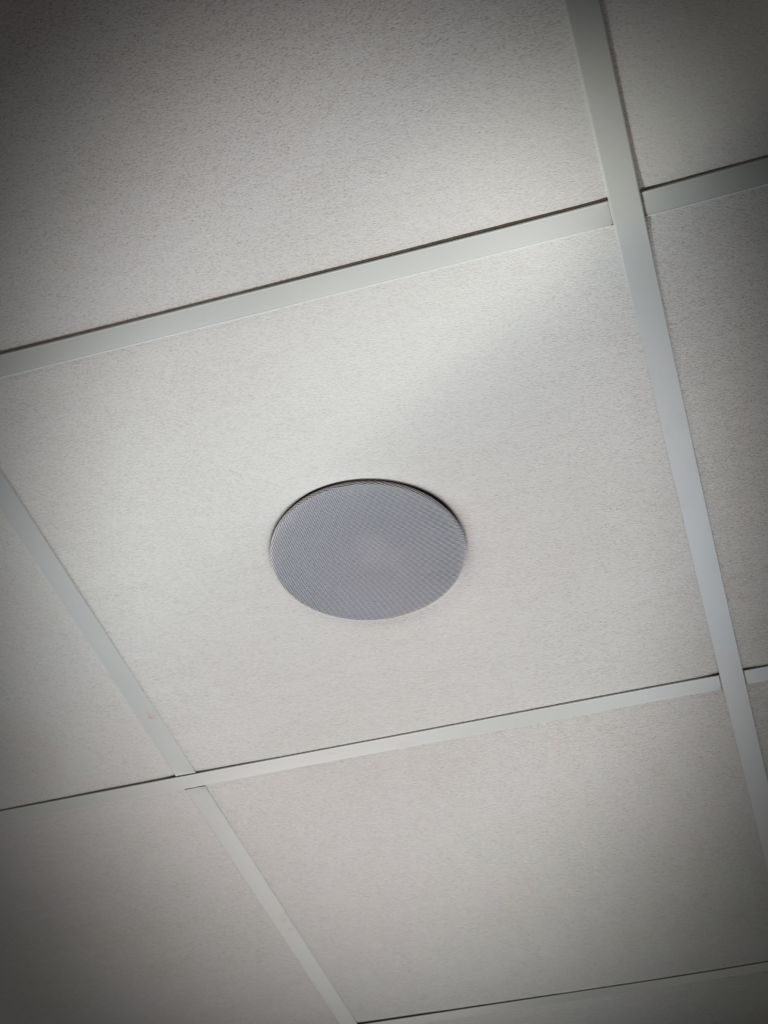
Ceiling speakers are another awesome way to enjoy quality sound while retaining the original aesthetic of the room.
This in depth piece I did on ceiling speakers provides more information on that.
https://easyhometheater.net/the-best-ceiling-speakers#guide
Should wiring for ceiling speakers not be a viable option for you, you always have the option of using height speakers as well.
These are speakers that are installed at or near ceiling level using a specialized mount. That way they’re still out of the way, and can be angled wherever the main seating position is located.
Using Bass Shakers
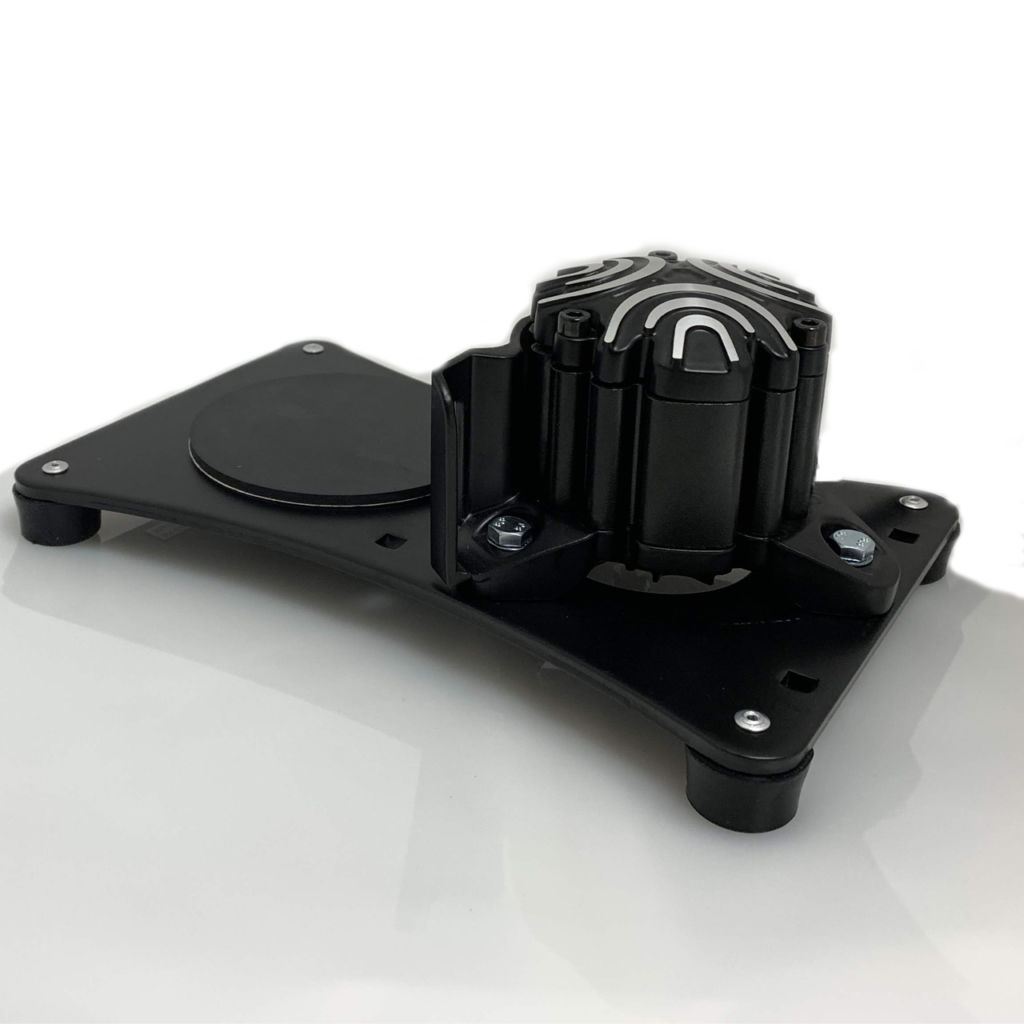
Lastly, should a dedicated subwoofer not be in the cards for whatever reason, or if you just want to up the tactile feeling without cranking the volume, a bass shaker is a great way to accomplish this.
A bass shaker is a small device that can be installed onto the chair/seat and like the name suggests, provides a more visceral feeling when it comes to bass.
Rather than just hear the movie, you’ll feel it too.
They can be a great way to make things more engaging without the need for a bigger subwoofer, which could annoy the neighbors or simply be in the way due to its size.
Here’s a really in depth piece I did on bass shakers that might help you out if you want to learn more.
https://easyhometheater.net/are-bass-shakers-worth-it
Final Thoughts
When it comes to hiding home theater equipment, there’s obviously a number of different ways you can accomplish this as evidenced above.
Whether it’s simply using a cable raceway to tidy things up, or installing a receiver in the wall, how you go about doing this is dependent on what equipment you have and where you want things to go.
Luckily, there’s a lot of flexibility when it comes to this so hopefully this article was somewhat helpful in offering some suggestions you can use.
But like always, if you have any further questions feel free to reach out and I’ll be glad to help.
Until next time, make it easy, keep it simple.
About Me

Jay
Hey everyone it’s nice to meet you. I'm Jay, writer & founder of the site Easy Home Theater. I've been with this hobby of home entertainment for many years now. I decided to create this site to be a helpful resource, and share everything that I've learned from personal experience with you. I also happen to be a huge gamer, lover of all things tech related, and a major fitness buff (love weightlifting)
Contact: Contact Jay
Facebook: https://www.facebook.com/Easyhometheater/
X: https://x.com/easyhometheater
Pinterest: https://www.pinterest.com/easyhometheater/pins/
Instagram: https://www.instagram.com/easyhometheater/
Followit: https://follow.it/easy-home-theater
Bluesky: https://bsky.app/profile/easyhometheater.bsky.social
2 Comments so far:
-
-
Awesome. If you need any help at all, don’t hesitate to reach out!
-




Good article. I just ordered a projector and I plan to make a home theater.