How To Make A Projector Brighter! (Guide)
How To Make A Projector Brighter! (Guide)
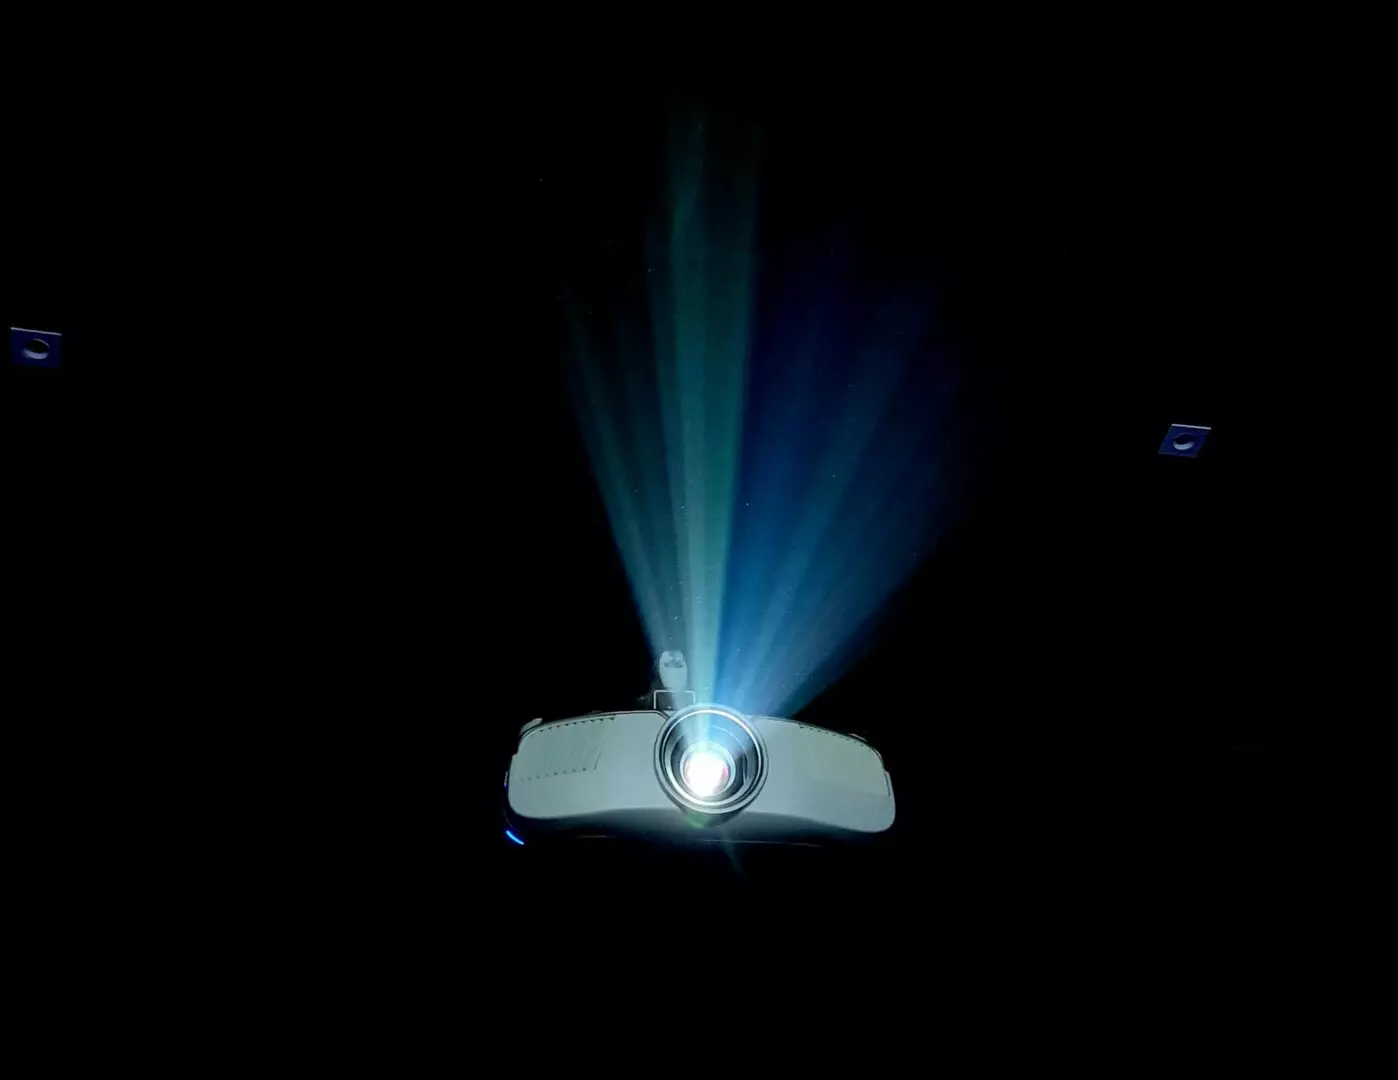
The ways to make a projector appear brighter include putting it on the highest output setting, adjusting the brightness & contrast, adjusting color, cleaning the lens, replacing the lamp, using the right type of screen, eliminating/reducing direct light, and placing it closer to a surface. Doing this can allow for an improved overall luminosity in the image.
Making your projector brighter is probably something you’ve wondered at some point, especially if you’ve had it for any extended period of time.
While every projector has a limit to the amount of light it can put out, there’s still ways you can maximize the capability of your device.
That way you get the best picture quality from it.
So today we’ll be taking a look at a few potential ways to help picture quality while improving the efficacy of light output from your projector.
(After feel free to check out my top picks for home theater projectors for the year.)
https://easyhometheater.net/the-best-home-theater-projectors
Ways To Tangibly Increase Your Projector’s Light Output
Setting It On The Highest Output Setting
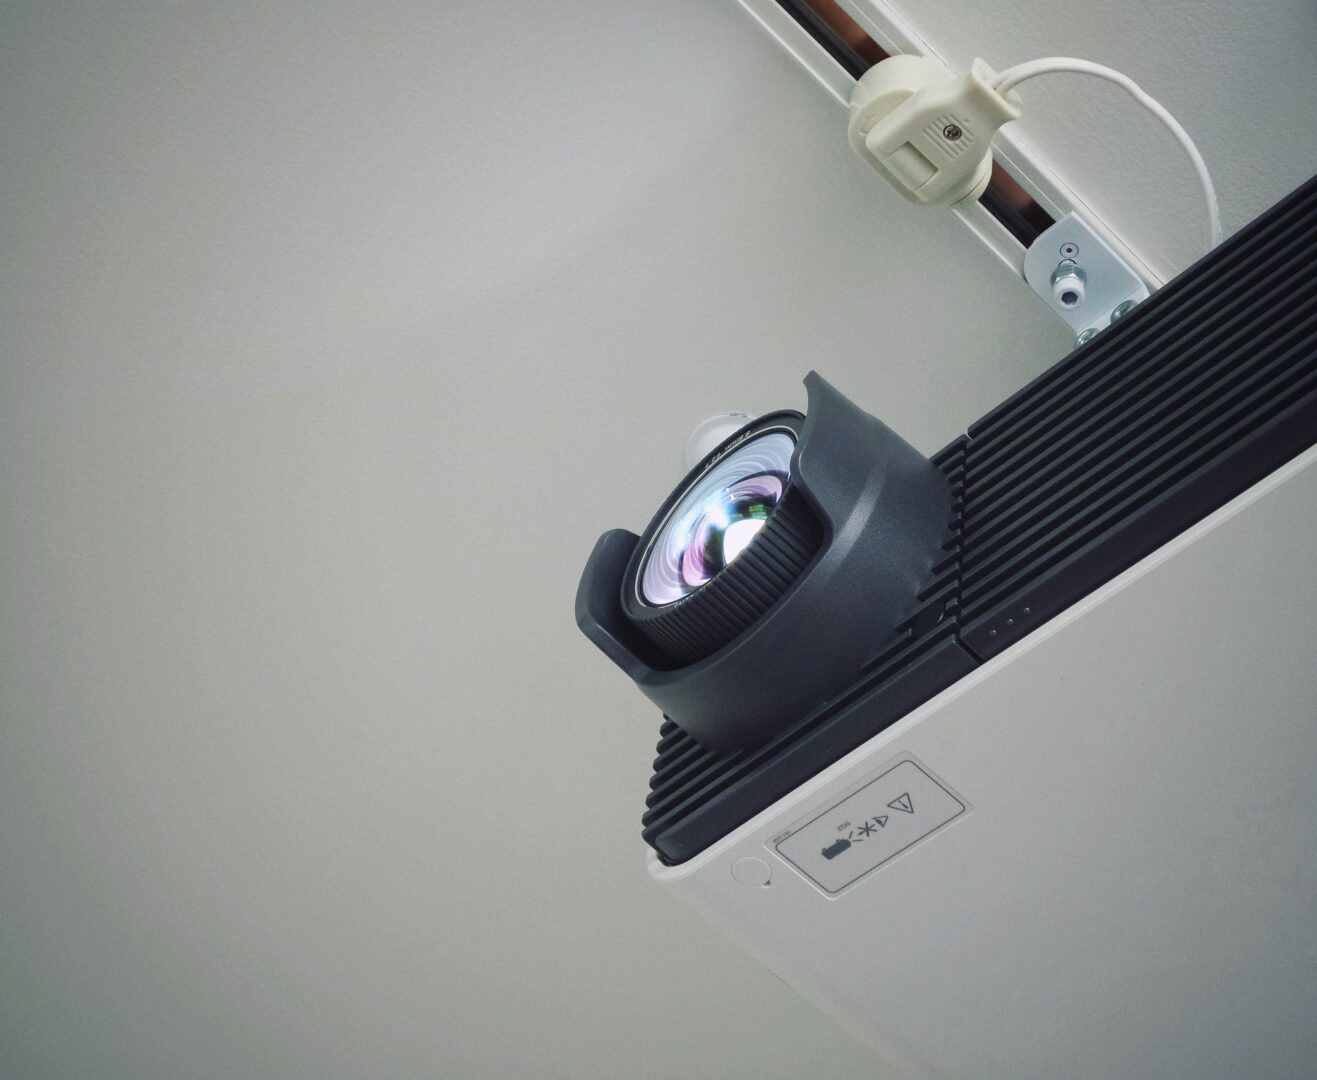
So the first and probably most direct way to increase your projectors light output is to ensure it’s actually set on the correct setting.
Many times manufacturers include some sort of ECO Mode or something similar.
The idea behind that inclusion being that’ll it’ll save power and lamp life over time.
It may even help minimize the fan noise & heat that some projectors tend to produce.
The thing is though, when placed at that setting, it may also come at the expense of duller looking image.
So by going into the projector’s lamp mode and changing it to a brighter preset, you might be able to achieve a brighter looking image.
However I do want to make mention that because the highest setting can also increase fan noise due to heat, you’ll want to make sure the projector is set in a place with plenty of ventilation and/or cooling.
This higher setting can also have an affect on the projector’s lamp life, especially if it’s on for a while.
That’s because it has to work harder when outputting a brighter image so that’s something to keep in mind.
Adjust Black & White Levels For A Better Contrast Ratio
Out of the box, it’s likely your projector didn’t come with its picture calibrated stock.
So with that said, adjusting your projector’s black & white levels in the settings can also yield a brighter and more vibrant image.
There’s many ways to achieve this; either by having a professional calibrate it for you, using a calibration disc, or even using a picture adjustment video online.
Properly set black levels are extremely important since that’s what helps add depth to an image and helps give it that pop.
When set too bright, it can cause the picture to look washed out and lacking.
Remember though, the brightness setting is what actually controls black levels, not contrast.
Contrast is what handles the light values in an image.
So if you’re trying to adjust the black level because it doesn’t look right to your eye, the brightness setting is the one you would adjust.
Conversely, if the light parts of an image look dull, the contrast is the setting you would want to adjust.
You’ll want to adjust it to be as bright as possible without clipping specular highlights in the image (basically making sure you’re not reducing details in the brightest part of the image)
By getting the contrast and brightness levels at the right value, it can help improve the contrast ratio (difference between the brightest & darkest part of an image)
This conveys a more dynamic looking picture quality and makes things appear brighter.
You can also adjust what’s known as the gamma levels, if the projector supports it, to also get a better looking image.
Adjust Color Accuracy
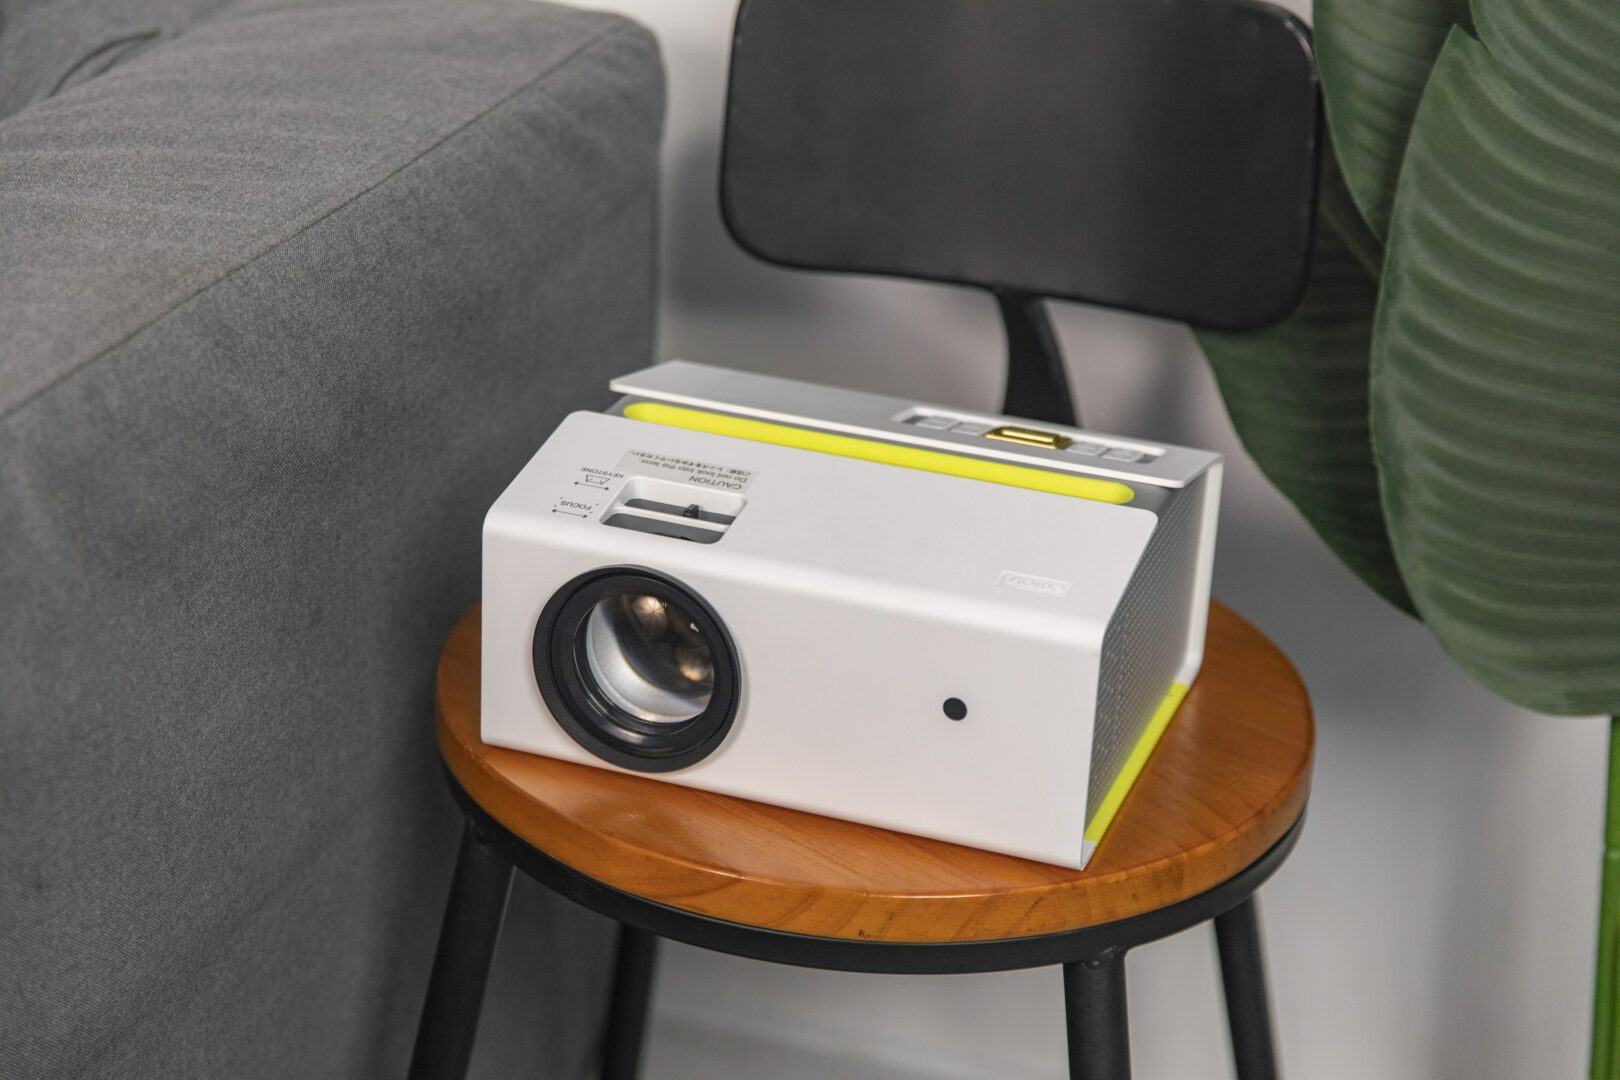
Another thing that can help with the perception of a brighter image is making sure the colors the projector is producing are accurate.
Similar to adjusting black levels or gamma, how colors look on the screen can affect you perceive in image.
If you calibrate colors correctly, it should certainly help the dynamism of the image.
Since every projector is different, I can’t give a blanket recommendation on a specific color setting.
However the middle of the color scale can be a good starting point to adjust from.
Occasionally Clean The Lens
Over time dust might start to build on lens itself.
This may affect how much light it can output and potentially make the image look duller.
Occasionally cleaning the lens is a helpful way to ensure your projector is performing optimally.
Home Theater Maintenance
Replace The Bulb When It’s Older
Over time, your projector’s lamp can dim and if it’s really old, the resulting picture can be a lot darker than if the internal bulb was new.
So if you happen to notice the image isn’t as bright as you remember, it could be possible that the lamp needs to be replaced.
Ways To Better Utilize Current Projector Light Output (External Factors)
Using The Right Type Of Projector Screen
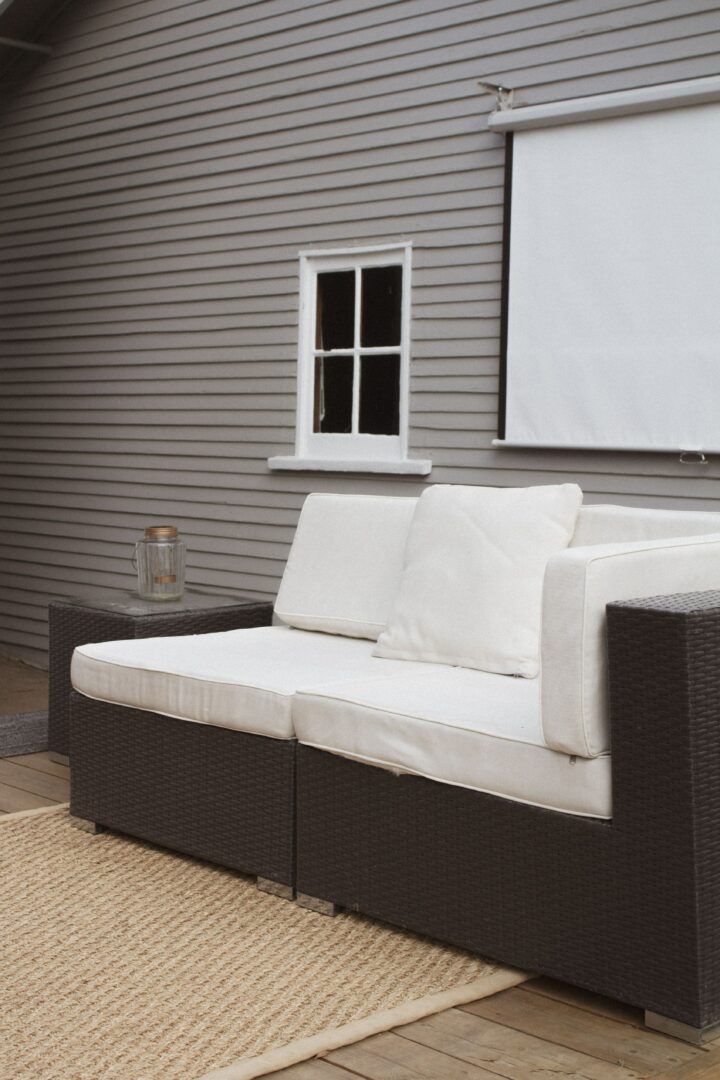
Using the right projector screen can have a dramatic impact on your picture quality, and in turn, the how it looks when actually viewing it.
While there’s many different types with varying materials, in my opinion the best projector screen material is white blackout cloth.
White blackout combines the benefits of having a higher gain, (which allows for a higher peak brightness) while also being non reflective & absorbing ambient light for a better saturated image.
Eliminate/ Reduce Direct Sunlight Or Lights As Much As Possible
Another helpful tip you’ll certainly want to implement is reducing any direct sunlight on the area you’re projecting on to.
A lot of light can wash out image quality, and even a small amount of ambient light can have an effect on how things look.
Using shades or blackout curtains can be helpful in ensuring your room has the optimal conditions with regards to image quality.
Lights in the room should also be aimed away from the screen or wall if possible.
If not, using white blackout cloth like mentioned previously can be helpful in absorbing some of the excess light.
Utilize Projector Paint If Using A Wall For The Image
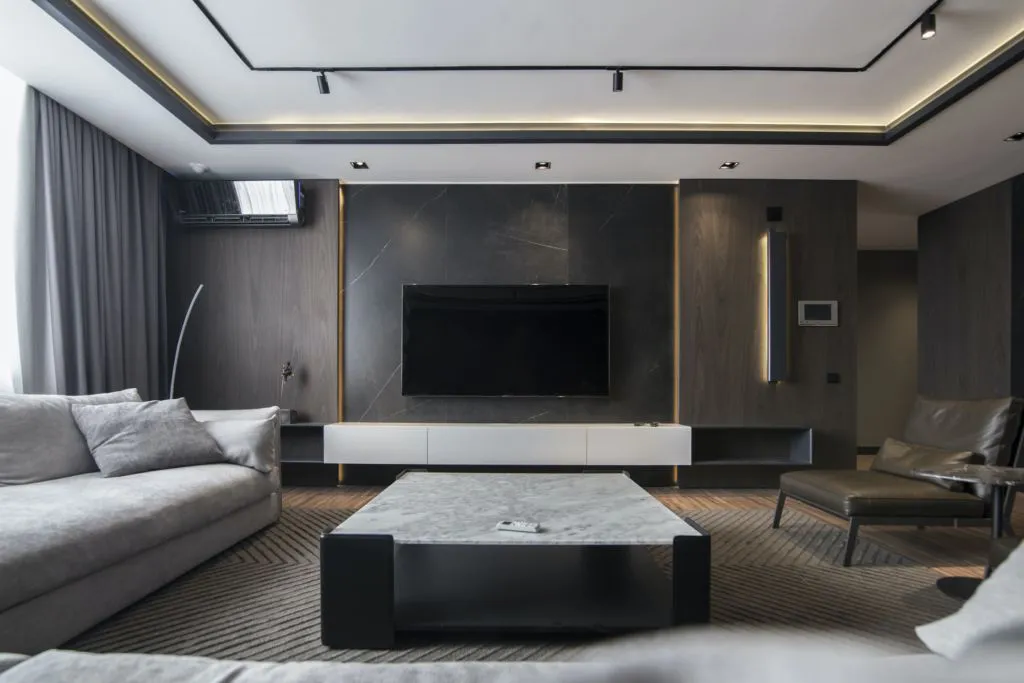
If you’re not using a projector screen and decide to simply project onto the wall, you can optimize that too.
Using specialized projector paint can help with getting a brighter image from your projector.
The color of the wall matters since brighter colors tend to reflect more light, allowing the image to be more vivid.
Though this comes with the drawback of augmenting excess external light which can drown out the image.
Darker colors avoid this issue since they absorb more light, but they also come with the caveat of producing a darker looking image.
From my experience, grey tends to provide the best balance between reflectivity and light absorption.
Keep in mind though it may be in the middle in terms of actual brightness of the content and depth.
Some projectors even have modes that account for wall color and adjust accordingly.
Also another way to improve perceived contrast ratio is placing felt tape around where the projector is projecting onto since it can help mitigate light bleed (excess light that can wash out an image) and improve perceptible vibrancy.
Vibrancy Enhancing Projector Screen Felt Tape Border
Place The Projector Closer To A Surface
Lastly, another way you can make your projector appear brighter is simply moving it closer to a surface.
A projector can be long or short throw, which basically dictates the size of the image and how close the device can be to a surface while still providing that same sized image.
However if placed too far away outside of its intended distance, the picture can be dimmer than intended from what I’ve noticed.
Final Thoughts
That about wraps it up for this one.
In short there are various ways to increase the brightness of a projector, and in doing so can allow for a much more enjoyable movie watching experience.
From replacing an aging bulb, to using a projector screen, these are various tips that can help your projector perform at its best.
Also feel free to check out my top projector picks for 2026 if you were looking to replace yours.
https://easyhometheater.net/the-best-home-theater-projectors
Until next time though, make it easy, keep it simple!
About Me

Jay
Hey everyone it’s nice to meet you. I'm Jay, writer & founder of the site Easy Home Theater. I've been with this hobby of home entertainment for many years now. I decided to create this site to be a helpful resource, and share everything that I've learned from personal experience with you. I also happen to be a huge gamer, lover of all things tech related, and a major fitness buff (love weightlifting)
Contact: Contact Jay
Facebook: https://www.facebook.com/Easyhometheater/
X: https://x.com/easyhometheater
Pinterest: https://www.pinterest.com/easyhometheater/pins/
Instagram: https://www.instagram.com/easyhometheater/
Followit: https://follow.it/easy-home-theater
Bluesky: https://bsky.app/profile/easyhometheater.bsky.social



Leave a Reply