5 Improvements For A Small Home Theater Room

5 Improvements For A Small Home Theater Room
What’s great about home theater in my opinion is just how customizable it can be—especially in terms of the room itself.
Whether it’s saving space, acoustic treatment, etc, the room has a big impact on your overall viewing experience.
But if you’re working with limited space, yet still want to enjoy high quality sound & ambiance, here’s 5 improvements for a small home theater room.
Changing the seating type, using a soundbar or elevation speakers/ceiling speakers to save floor space, using the right wall paint color for immersion, adjusting lighting, and optimizing the acoustics of the room are 5 awesome improvements for a small home theater room. Movie based decorations also enhance things.
1). Changing The Seating Type

If you’re designing a quality entertainment experience in a smaller movie room, the type of seating you use won’t only be important for comfort, but for spatial functionality as well.
That’s because every bit of space matters when square footage is limited.
However the right seating choice can be a meaningful upgrade if done right.
So instead of say a large couch or oversized recliner, replacing it with more modular and compact seating can give the illusion of a larger room.
Not only that, but by using smaller seating, there’s more space to move around when not watching movies.
So to get more specific, foldable recliners, tiered back row seats using a riser to maintain visibility, and pushback recliners are all good ideas for this type of room.
Though that said, there’s no one specific type that should be used since it’s dependent on the room size and preference of seating type.
For me personally, recliners are awesome, but given I also game a lot, video game racing chairs also double as a theater seat when switching over to a movie.
Home Theater Seating Ideas
Seating Distance & Front Speaker Placement Calculator
2). Using A Soundbar Or Elevation Speakers/Ceiling Speakers To Save Floor Space

So of course the right home theater speakers can elevate things, but when the layout is limited, larger speakers may not be a viable option at that time.
Luckily there’s still ways to achieve great sound without forgoing it all together by using a more compact audio setup.
Soundbar
One improvement for a smaller media room is using a soundbar below or above the TV for more space.
As the name suggests, a soundbar is an audio device that has a row of speaker drivers housed within a single elongated enclosure.
Though some come with external speakers for surround sound, soundbars themselves typically only project their output forward in a single direction.
That said, if they’re models that support Dolby Atmos & DTS:X, then they may be able to simulate 3D audio effects to a convincing degree.
If your TV is already wall mounted, then wall mounting the soundbar too above or below is a space conscious improvement that can also help room aesthetics.
Something I’ve noticed that’s helpful to keep in mind though is off axis seating with a soundbar can be limited; meaning sitting a little too far to the left or right can quickly degrade audibility.
That applies to its placement height too which is why it’s often better for the main listening position to be in line with it.
But the audio quality itself can be incredible with the right one.
Here’s some great options in that regard.
Best Home Theater Soundbars For 2026
Elevation/Ceiling Speakers
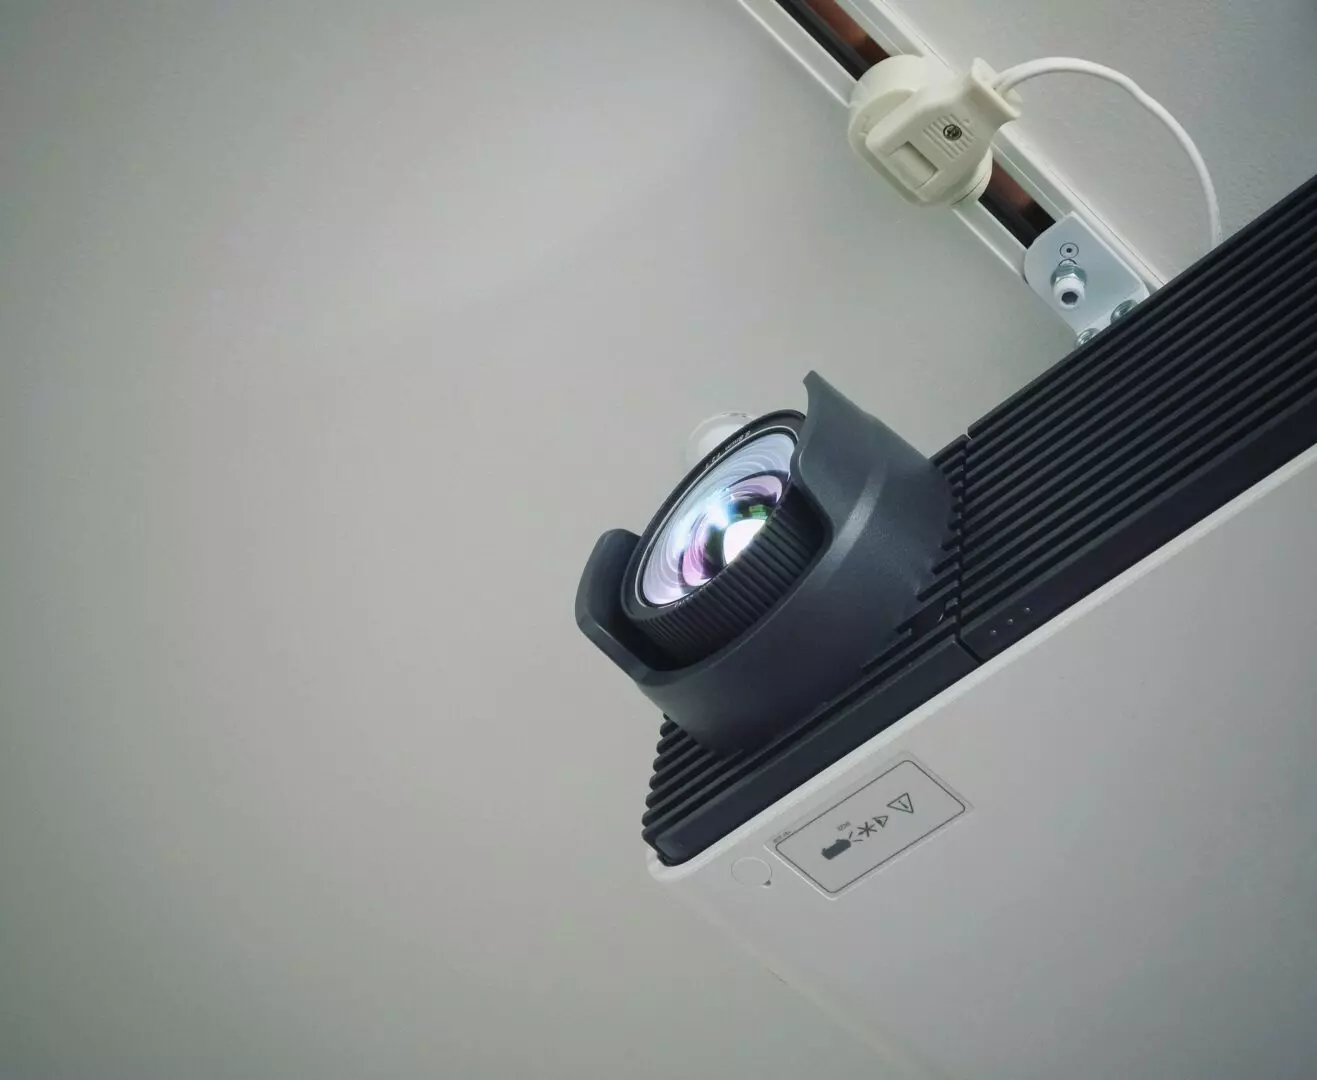
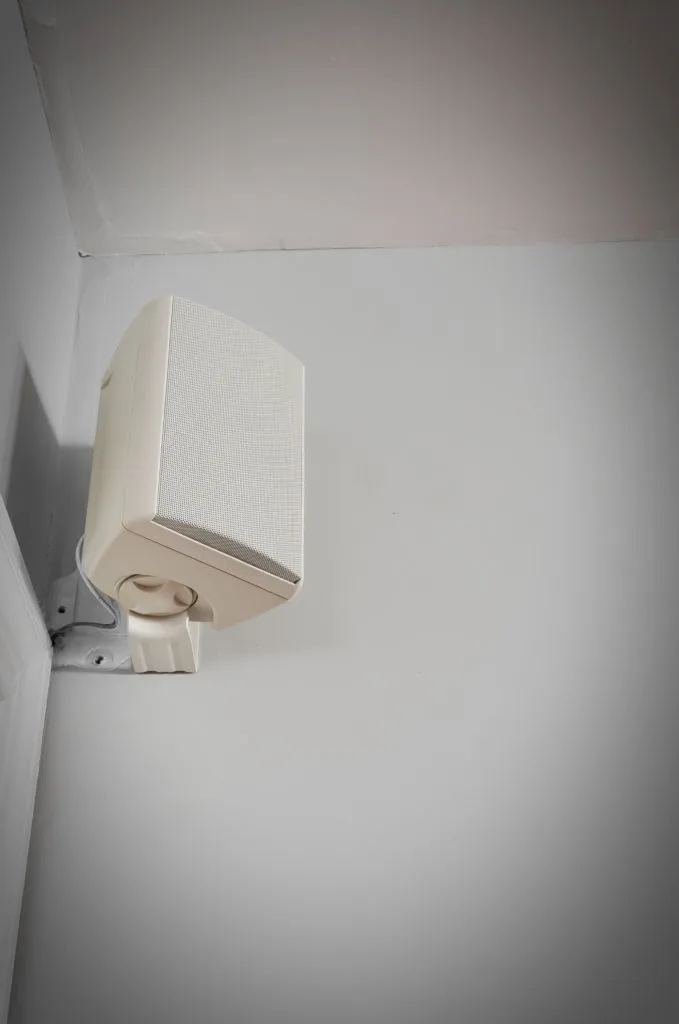
Alternatively, another small theater room based improvement is using elevation speakers.
These are speakers that get mounted above the listening area and can be a great way to not only save floor space & maintain room aesthetics, but also keep that surround sound experience.
To take that further, you could even implement ceiling speakers where those same space-saving and aesthetic benefits apply—while also allowing for true height-channel support via Dolby Atmos & DTS:X
Plus the great thing about object based surround sound formats like those in my opinion is they can make the room feel bigger than it actually is.
3). Using The Right Paint Color Which Can Enhance Immersion

Also on that aspect of improving a mini cinema room, using the right paint color for the walls can help with immersion.
The best type of paint color though depends on what the theme of the theater room actually is—along with things like furnishings, lighting, etc.
If your focus is on optimizing screen optics specifically for that area, then a darker matte color works better since it reduces excessive light bounce.
But if you’re going for a balance where you still want that while making a smaller theater room feel more spacious, then a lighter matte gray can work.
This can be especially helpful if it’s multipurpose like a living room for example, where you might not always watch movies and the environment is lighter during the day.
Home Theater Paint Color Ideas
4). Adjusting The Lighting

Lighting is another element that can really enhance the ambiance of a cinema room, especially if it’s more on the cozy side.
This is one of those things where it’s definitely preference based, since there’s no shortage of lighting options ranging from bias lighting to built in track lights along the ceiling.
But given limited space, LED strips and smart bulbs can work well in this instance.
What I like about these options particularly is how easy it allows you to match the vibe your going for while still providing versatility should you want a different color or brightness.
For example you could use it as mood lighting for movies, and then change the setting entirely for gaming.
I’d recommend using strips behind the TV and smart bulbs in the room since that can preserve screen contrast and provide the viewing environment with that theater feel.
Govee RGBIC LED Strip Lights
Govee Smart Light Bulbs
5). Optimizing The Acoustics Of The Room

I’ve said it before but the acoustics of the room is one of the biggest factors in actually getting the most out of your speakers and an overall quality home theater experience.
In a smaller room specifically though, a lack of acoustic treatment becomes especially apparent.
While many types of acoustic treatment exists, if you’re using speakers in a confined area, placing acoustic panels on the walls behind them can be a great way to optimize their output.
The same applies if you’re using a soundbar.
If you have height or even ceiling speakers, also placing these panels on the sides and behind the listening area can help.
Also be mindful of an excess of reflective surfaces as these can add echo due to sound waves bouncing off.
While plush material helps, and I’d normally recommend using large sofas, chairs, and even curtains to address this, that might not be feasible with a smaller theater setup.
So given that, a combination of small carpets and acoustic panels can still go a long way in helping the audio.
Bonus: Using Movie Centered Decorations
I wanted to make mention that decorations can also be a quick way to improve the look of things in your smaller home theater.
More specifically, film posters, cinema signs, and movie based decals can be a simple aesthetic upgrade that still meaningfully adds to the overall experience.
Here’s more in that regard.
25+ Home Theater Gift Ideas
Closing Thoughts
Hopefully this was helpful in providing context on a few of the ways you can improve even a smaller home theater room since the lack of space can limit options.
But that doesn’t entirely prevent customization, and with a little creativity, it’s still possible to create a memorable viewing experience regardless.
It’s that customizability that makes the entire hobby so fun in my opinion, and hopefully this allows you to craft a compact cinematic space that’s noteworthy.
Until next time, make it easy, keep it simple.