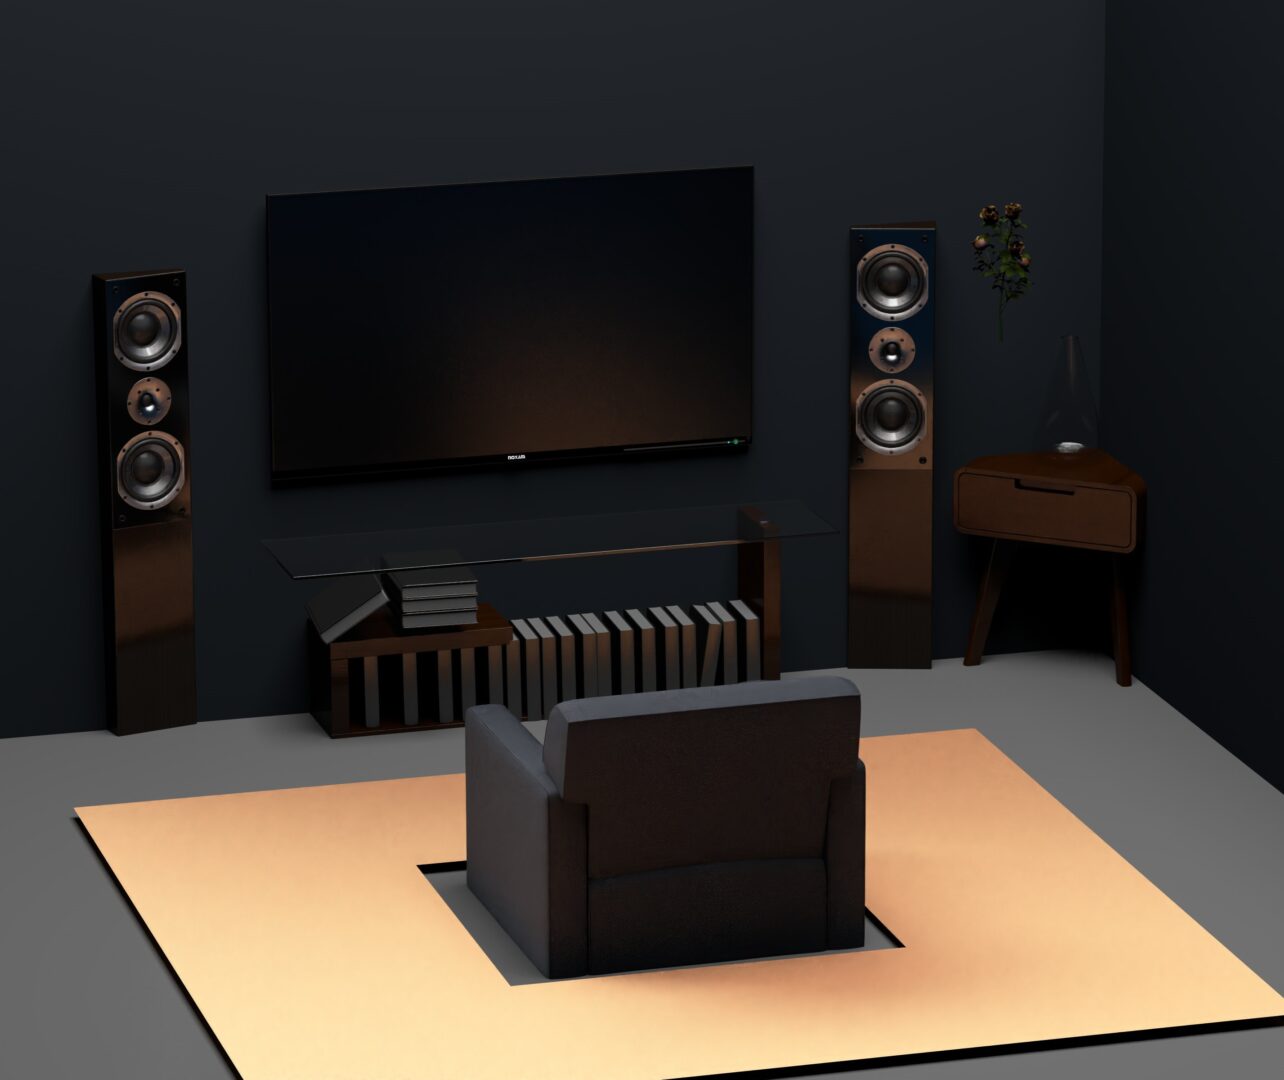
Home Theater Seating Ideas


Home Movie Theater Seating Ideas
Today we’ll be going over a few home movie theater seating ideas that should help make your movie nights be that much more exciting.
There’s a lot to go over though so get your popcorn, kick back, and let’s get right to it!
(After you read this one, be sure to check out the article I did on a lot of the worst home theater mistakes people often make while showing you exactly how to fix them)
https://easyhometheater.net/25-of-the-worst-home-theater-mistakes
What Is A Home Theater Seat?
So here’s a question you may be asking yourself; what exactly is a home theater seat?
Well any chair could technically be considered one if set up correctly, but it’s basically a seat in your main listening area.
While there are dedicated movie seats out there (some of which we’ll talk about later on) something as simple as a super comfortable chair in a personal home theater would definitely count.
Deciding Your Home Cinema Seating Arrangement Beforehand
So before you decide on the next chair to add to your space, you’ll want to consider a few important questions that will ultimately determine the kind of set up that is right for you.
~Where Will Your Primary Seating Be Located?
This one is extremely important because it will single handedly have the biggest impact over everything. The primary position is the one where you and or your guests will be doing the most listening.
It’s important to get this right since it can make a worlds of difference when done incorrectly. This is the spot everything else such as subwoofers and surround speakers will also be based around by the way, so take your time setting everything up.
First you’ll want to decide on a room that’s big enough for your setup if you haven’t done so already. If you have, you’ll want to make sure that your seating is in clear view of the television and if possible, directly in the center of it.
Sitting off to one side or another can cause the picture quality to fade in some televisions so you’ll want to avoid that. This is commonly referred to as the viewing angle of a display.
Even though technically being seated slightly to the left or right from the center of the screen is fine, with some displays are better with mitigating the severity of this effect than others, it’s just always best if you can manage to be directly in the middle.
That way you know for a fact you’re getting the best out of your setup.
~Distance
How far you sit from the television is also important and will depend on the size, as well as the capabilities of your display.
If you have a smaller TV that’s full HD (also known as 1080p), then you’ll likely want to be closer.
Now if you have a larger TV you’ll want to farther; except if it has 4k capability since that extra bump in pixel count improves the resolution of the image allowing you to sit closer.
To help with that, I created a general calculator to give you a general idea of what viewing distance might work for you and where to place your front left & right speaker based on that, their port size, and driver size.
https://easyhometheater.net/seating-speaker-calculator
~ Surround Sound
Then of course you’ll want to take things like room shape and size into consideration when deciding if surround speakers would be right for you.
If you’re going with the traditional 5.1 setup, then make sure that the surround left and right speakers are situated exactly on each side of you, about 4 feet away from the listening position. This ensures you get the greatest coverage, enhancing that surround sound effect.
Now if you’re going with 7.1 however, the farthest two speakers should be located on the back wall and at the same height as your surround right and left (you can even elevate it a foot or two if this isn’t possible for you).
However here’s a tip from me to you. If you’re going with 7.1, make sure you’re at least 4 feet away from the wall that they’re located on.
Otherwise, you won’t be getting the full effect if you’re not. If you’re too close, it won’t sound like the effects are coming from behind you like the director intended, essentially nullifying their usefulness so keep that in mind.
~ How Many People Do You Plan On Seating
So this one seems kind of obvious, but you will want to decide how many people you plan on typically seating in both your primary and secondary seating positions. The primary, as we’ve talked about, is the exact spot where the TV is dead center and the speakers are lined up with where you are.
Secondary seating is basically the spot in the room where it isn’t the most optimal place to be, but the content is still watchable. Think of this scenario happening when you suddenly get more company over than expected (for example your friends coming over for a game or a show)
So you’ll want to have that in mind as well.
~ How The Seats Are Configured
Of course a lot of this will come down to what kind of chairs you plan on incorporating, but you’ll also want to figure out how you want them set up.
The options are certainly varied both in choice and placement.
A lot of this is also going to again depend on your room. I’d highly suggest measuring it first so that you know what you’re working with. There’s actually 2 ways you could go about figuring out how you want them configured too.
On one hand you could take measurements of the room and use this to determine all the orientations possible for that particular room.
Or if you’re working with a space that’s likely to being changed at some point, (renovations or home additions for example) you can always set exactly how you want all of the seating beforehand, and work out from there. That way there’s no guesswork involved.
Also for the sake of practicality, make sure that there’s adequate space between the seats as well as adequate space for actually moving around when getting up.
This is ensures that everyone has enough space to stretch out and relax, but also evacuate safely in case there’s ever an emergency such as a fire.
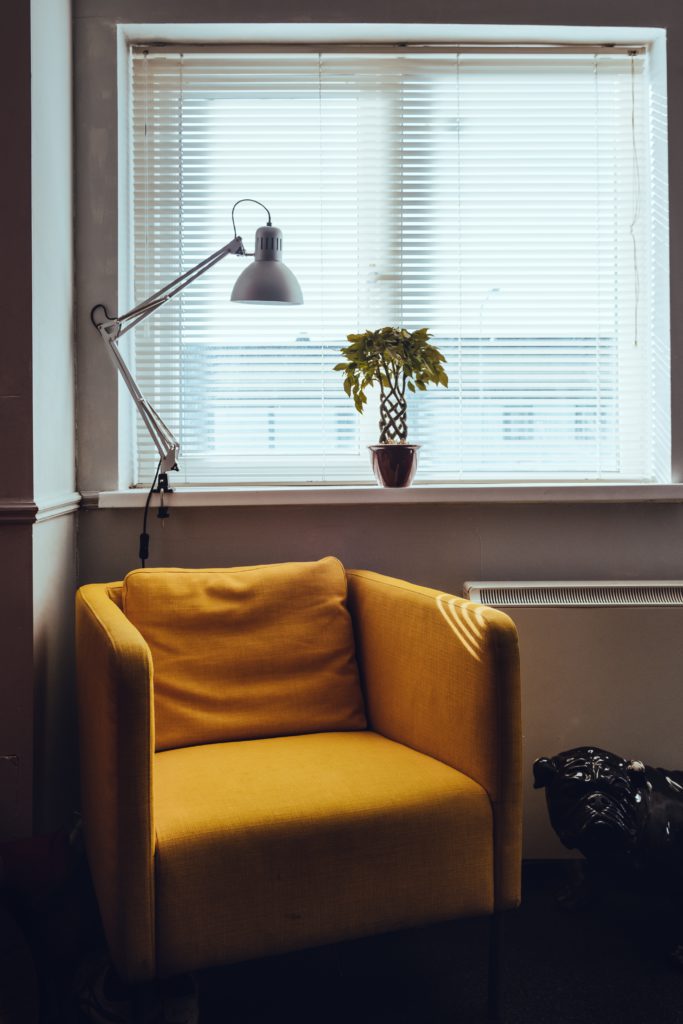
The Ambiance Of The Room

Of course you’re also going to want your theater room to actually look like one, so you’ll certainly want to give it some character. Things like posters, lights, even confection stands all add to that home cinema feel.
The article listed below should give you a lot of great ideas in that regard. Also highly recommend ambient lighting.
Not only will it help reduce eye strain from the bright screen in dark conditions, but it’s also highly customizable and a of a lot of fun.
Did I mention it’s fully functional with your smartphone?
Yeah it’s really cool.
Nexlux LED Light Strip
Whether You Want Dolby ATMOS Support
Dolby ATMOS is probably another thing you’ll want to consider as well. In short, Atmos is an object based sound from Dolby that’s used to add a dimension of height as well as depth to the experience as well.
So for example say there’s a scene in a movie where it’s raining and the main character is walking through it. Well each raindrop would be it’s own object and you’d actually hear each one hitting your floor from above as if you were actually there.
Or if someone in a movie threw a ball, it’d actually seem as though it were traveling through your room. It’s really hard to describe, but the result is something that’s so transcendent, I’d argue it’s as big a jump as going to 5.1 surround sound for the first time. It really does make that much of a difference.
But in order to incorporate Atmos into your own home theater, you are presented with a multitude of ways in doing so. You could get an Atmos enabled soundbar where it’s actually able to emulate this effect.
This is a good option for the people who are perhaps pressed on a lot of space. Then there are what are known as upfiring modules. These actually sit on top of your current speakers and are aimed upwards. This beams the sound towards the ceiling, then reflects it back to your seated position making it again, seem as though the sound is coming from overhead.

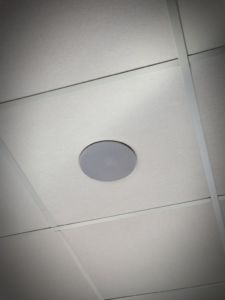
Then there’s the best option which is getting actual ceiling speakers installed. This may not be viable for people who rent though, so I would check with the landlord first. Also it may not be viable for those of you with vaulted ceilings because you want the ceiling to be completely flat with these.
It’s recommended to have at least 7 foot ceilings and a max of 14 to get the greatest effect from it as well. Even if you can’t do the in ceiling option, you could always mount your speakers on the wall as close to the ceiling as possible and angled down so that you get a similar effect.
Like I said you have a lot of options. Don’t worry too much about the installation process as the retail store Bestbuy is actually able to do this for you. They even have a free consultation from a professional to let you know what would be possible in your particular room.
Like I said, there’s a myriad of options but it’s certainly worth it. What’s also pretty awesome is that the Dolby website offers you a more in depth look at the technology along with visualizations of each the different installation options.
https://www.dolby.com/us/en/brands/dolby-atmos.html
https://easyhometheater.net/dolby-atmos-vs-dts-x
Subwoofer Placement
The placement of the subwoofer in relation to the listening position is another huge component for getting the most enjoyment out of your set up,
You want to make sure that the bass sounds even in all the seating positions without any weird or sudden shifts in volume.
You can do this by doing what is known as the subwoofer crawl.
Basically put your subwoofer in the primary listening position and play a song that you know really well at a decent volume.
From there, go around the room and listen to the changes in the bass.
You want to find the spot where it sounds the most balanced, and mark it with a piece of tape.
Now move your subwoofer to that spot and play the song again. It should sound the same.
Here’s that process in a little more detail, along with a few tips that’ll help you out even more.
https://easyhometheater.net/setting-up-2-subwoofers
If you just so happen to need a subwoofer for your new setup by the way, I got you there too.
https://easyhometheater.net/the-best-home-theater-subwoofers
Also if a subwoofer proves to be too cumbersome, you can implement what’s known as a bass shaker in your seating to get the same physical effect without a lot of the noise.
They add an extra level of dimensionality to the home theater experience and are definitely something that adds extra impact when watching movies.
Types Of Seating To Choose From
So that’s about it in terms of what you should base your seating around, now to the actual seats! 😀
A Couch
So this ones pretty self explanatory, but a couch is one of the best choices due to the fact that it’s easy to implement, and feels lot more casual than some of the options out there.
Plus if you were limited on space, they’re able to seat a lot of people in a single row, so this can be a great space saver.
A couch that matches the feel of the room is definitely helpful so the attention isn’t so much on the seating as it is on the movie. This one I feel strikes a good balance between looking great while having a subtle look as well.
Nolany Convertible Sectional
Home Theater Recliners
On the other hand, if you want your room to take on a more traditional look, then a home theater styled recliner can be the perfect way of doing so.
But keep in mind that these can take up a decent amount of space. I would definitely use these in bigger rooms; especially since like we mentioned earlier, any additional recliners that you add, you’d want at least a few inches of clearance between them.
Plus, like their name suggests, the fact that they recline means that you’d want a little extra breathing room. That way your not knocking stuff over while trying to relax.
But it can’t be stressed enough, if you have the means to get one, then these are a solid option.
Not only are they insanely comfortable, but a lot of them actually have cup holders and trays for your food and drink. I mean heck, some are even heated and act as a massage chair. Doesn’t really get much better than that honestly.
One I’d recommend would be the Comhoma Leather Recliner. It’s leather, has a cup holder, acts as a massage chair, and even has slots on both sides to hold things like magazines or remotes.
It truly is amazing honestly.
Lounge Chairs

Using lounge chairs is also a possibility depending on how your room is configured.
Even better is that with the sheer amount of them that exist out there, it shouldn’t be too terribly difficult to find the ones that match the exact feel of your room.
Stadium Seats
Another option you could always go with are what are known as stadium seats. These are essentially the types of chairs that are found in actual movie theaters.
A benefit over the typical recliner style is that these are a lot smaller (typically less than half the size), so you would be able to fit a larger amount of them into a smaller space.
This is especially helpful if your primary seating area is going to be used to seat a lot of people.
Restaurant Style Seating
Yet another option you have is implementing a restaurant styled home theater. There’s a large number of ways to do this, but they do require having the ability to be able to modify the room.
One of the best ways I’ve personally seen this done was at the end of the last rows of recliners, there was a countertop that came up about a foot above where the head rest was, and the next step up in the room were a bunch of high bar stools that were situated around the other side of it.
It looked pretty sweet.
I could see this setup being advantageous for when you know you’re going to have a lot of people over, so that way folks could either sit in the chairs up front or at the stools on the other side.
There’s definitely a lot of versatility with this one.
Beanbag Chairs
Or perhaps you want to go full on retro in your movie room and want your seating to be a little more festive than the typical choices. Well a beanbag chair is a fantastic way to do exactly this.
They come in a variety of materials, colors, and even sizes so there’s no shortage of ones to choose from. Plus the fact that they contour to the shape of your body means you’ll always have a seat that’s just right for you.
Oh yeah, and they’re just super fun in general.
Beanbag Chair
A Few More Styles & Examples
If you’re looking for more specific styles and examples of pre-made setups that you can try, then here is a really good place with a lot of them. No doubt there’s at least something there that you could implement into your own personal movie room.
https://www.pinterest.com/nataliakarimov/seating-for-a-home-theatre/
Final Thoughts
Well that’s pretty much it for now since I think we’ve covered a lot of the different types of the home theater seating ideas that are out there.
Hopefully you found it helpful and have an idea of what works with your particular room as far as seating goes.
In regards to general tips when it comes to home cinema, here’s a few tips that I personally use that you may find useful.
https://easyhometheater.net/home-theater-ideas


 The padding of the headband is pretty copious, and is made out of a synthetic rubbery material as opposed to the typical plush material used in other cans (that’s an informal term for headphones)